
This dish combines the comfort of french toast with a fun, handheld format. You’ll need basic kitchen tools like a pan and mixing bowl, plus everyday items like milk and eggs. What makes it special? The balance of sweet and savory flavors, along with a texture that’s crispy outside and melt-in-your-mouth inside.
I developed this recipe after testing various techniques to optimize both taste and nutrition. Beginners will appreciate the straightforward steps, while seasoned cooks can experiment with add-ins like chia seeds or honey. Later, I’ll share my secrets for achieving the ideal golden-brown finish without burning.
Key Takeaways
- Transforms traditional breakfast favorites into portable, protein-rich bites
- Requires only 6 core ingredients and basic cooking equipment
- Delivers balanced nutrition with vitamins and healthy fats
- Customizable with different bread types or nut spreads
- Perfect for busy mornings or weekend brunch gatherings
Introduction
Breakfast experimentation led me to rethink traditional recipes through a nutritional lens. While classic French toast delivers comfort, I wanted a version that packed more protein and stayed satisfying until lunch. That’s when nut spreads became my secret weapon—their creamy texture binds ingredients while adding healthy fats and fiber.
My journey began with countless mornings of testing ratios for the egg mixture. The magic happens when you whisk together eggs, milk, and cinnamon—it creates a custardy base that crisps beautifully in a hot pan. This method transforms basic bread into golden-brown spirals with a gooey center.
What makes this approach special? It’s adaptable. Use any bread you have—stale slices work perfectly. The process takes under 15 minutes, ideal for hectic days. Later sections will explore ingredient swaps, like almond butter or honey drizzle, but the core technique remains foolproof.
“The right balance of heat and timing turns simple components into something extraordinary.”
Whether you’re meal-prepping for the week or hosting brunch, this recipe scales effortlessly. Keep reading to master the sauté technique and discover how each ingredient contributes to both flavor and nutrition.
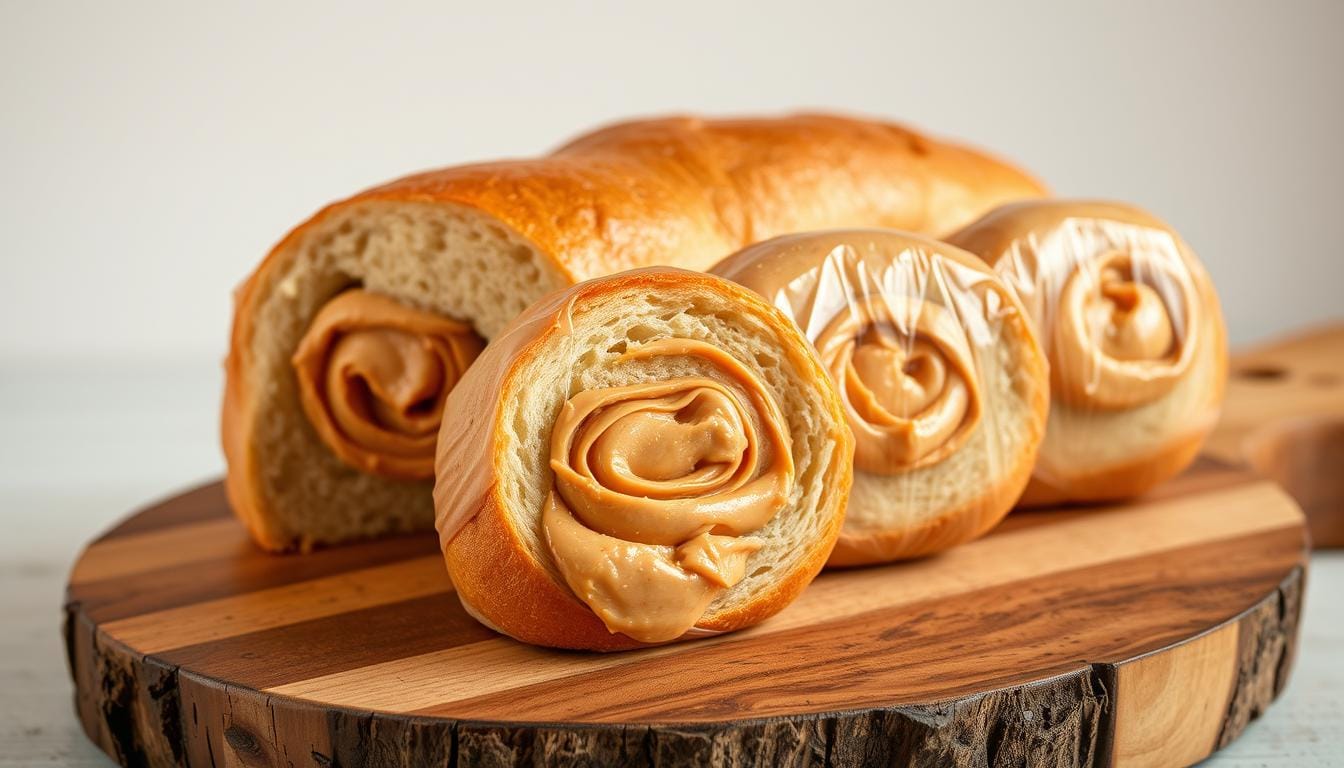
Peanut Butter Toast Rolls: The Ultimate Breakfast Treat
Busy schedules call for recipes that don’t compromise on taste or nutrition—enter these golden spirals. What makes them stand out? A protein-rich foundation that keeps you energized for hours. Each bite combines velvety spread with lightly crisped bread, creating a contrast that’s satisfying without feeling heavy.

I focused on streamlining the process: whisk eggs with cinnamon, dip the bread, and pan-fry until golden. The result? A restaurant-worthy breakfast in under 10 minutes. Even better, the core ingredients adapt effortlessly—try almond spreads or mashed banana for natural sweetness.
Why does this work so well? The egg mixture acts like edible glue, binding the roll while adding moisture. Cooking on medium heat ensures a crisp exterior without burning. It’s science meets simplicity—no fancy tools required beyond a skillet and spatula.
Whether you’re rushing out the door or savoring a slow morning, these roll-ups deliver balanced flavor and texture. Later, I’ll share how to boost fiber with whole-grain options or add a drizzle of honey. For now, grab your pan and let’s transform breakfast.
Essential Ingredients & Needed Tools
Great recipes start with quality components and reliable equipment. While this dish seems simple, selecting the right items ensures your rolls hold their shape and deliver that signature golden-brown crust. Let’s break down what you’ll need to create these protein-rich spirals.

Fresh Components Matter
| Ingredient | Quantity | Role |
|---|---|---|
| Soft white bread | 4 slices | Base for rolling (crusts removed) |
| Creamy spread | ½ cup | Binding agent & healthy fats |
| Large eggs | 2 | Creates custardy coating |
| Cinnamon | 1 tsp | Adds warmth & aroma |
Equipment Essentials
Your kitchen likely has these tools already:
- Sauté pan: Ensures even heat distribution for crispy exteriors
- Rolling pin: Flattens bread without tearing
- Mixing bowl: Combines eggs and milk thoroughly
I’ve found that room-temperature eggs blend smoother into the mixture. Always test your pan’s heat with a water droplet—it should sizzle but not smoke. With these fundamentals, you’re set to master the technique.
Step-by-Step Recipe Instructions
The secret to perfect rolls lies in methodical steps and attention to detail. Let’s transform basic ingredients into golden spirals with crisp edges and soft centers. Follow these tested methods to avoid common pitfalls and achieve consistent results.
Preparing the Bread and Mixture
Start by flattening bread slices with a rolling pin. This creates pliable bases that won’t crack when rolled. For the batter, whisk together eggs, milk, and cinnamon until silky. Let it rest 2 minutes—this helps proteins bind for better texture.
| Step | Action | Time |
|---|---|---|
| 1 | Flatten bread | 1 minute |
| 2 | Mix batter | 3 minutes |
| 3 | Rest mixture | 2 minutes |
Soaking, Rolling, and Assembly
Dip each slice into the egg mixture for 10 seconds. Lay it flat and spread a thin layer of creamy peanut spread. Add banana slices if desired, then roll tightly from one end. Press seams gently to seal.
Pan-Frying to Golden Perfection
Heat a sauté pan over medium heat with a light coating of butter. Cook rolls seam-side down first, turning every 90 seconds. Target 4-5 minutes total for even browning. Watch for caramelized edges—they signal ideal doneness.
Pro tip: Let cooked rolls cool 1 minute before slicing. This prevents fillings from oozing out. Pair with fresh fruit or yogurt for a balanced protein-rich meal that fuels your morning.
Tips to Achieve Perfect Toast Rolls
Mastering this recipe requires understanding common challenges and simple fixes. Even experienced cooks face issues like uneven browning or split seams. Let’s tackle these head-on with practical solutions I’ve refined through dozens of test batches.
Quick Troubleshooting for Common Issues
If your rolls unravel or cook unevenly, check these factors first. Under-soaked bread won’t hold its shape—dip slices for 10 full seconds. For pan-frying, rotate rolls every 90 seconds using tongs to maintain consistent heat exposure.
| Problem | Solution | Key Tip |
|---|---|---|
| Bread cracking | Flatten slices more | Use slightly stale bread |
| Filling leakage | Thinner spread layer | Leave ½” border |
| Burnt exterior | Lower heat + butter | Medium-low setting |
Texture issues often stem from ingredient ratios. Too much creamy spread makes rolls soggy—stick to 1 tablespoon per slice. If the egg mixture pools, whisk longer and let it rest 2 minutes before dipping.
| Heat Level | Result | Adjustment |
|---|---|---|
| Low | Soggy centers | Increase by 1 notch |
| Medium | Golden crust | Ideal setting |
| High | Burnt edges | Add butter buffer |
Through testing, I discovered natural nut spreads brown better than sugary alternatives. Track your modifications—a cooking journal helps identify what works. As I tell my students:
“Every stove behaves differently. Treat your first batch as a diagnostic test.”
Don’t fear adjustments. Swap dairy milk for almond if needed, or add a pinch of sugar to the cinnamon mix. With practice, you’ll develop an instinct for perfect timing and ingredient balance.
Flavor Variations and Creative Twists
Endless customization options make this morning favorite endlessly exciting. Let’s explore how small tweaks can transform the core recipe into new taste adventures while maintaining its nutritional benefits.
Banana Cinnamon Delight
Thinly sliced bananas add natural sweetness and creamy texture when paired with nut spreads. I layer them over the base ingredient before rolling, then dust with cinnamon-sugar for caramelized edges during cooking. This version delivers 30% more potassium per serving compared to the original.
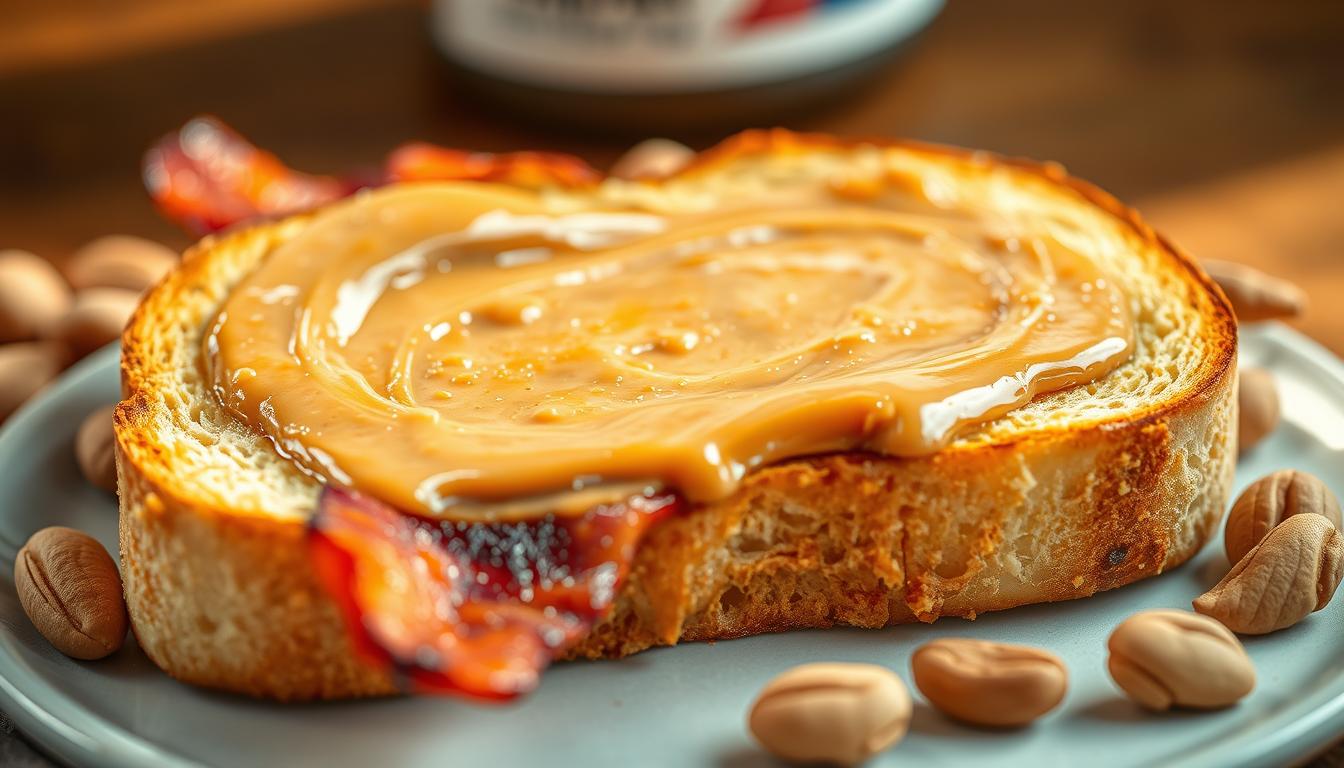
Beyond Sweet: Savory Surprises
For those preferring salty flavors, try these combinations:
| Type | Ingredients | Flavor Profile |
|---|---|---|
| Smoky | Crumbled bacon + chives | Rich & savory |
| Creamy | Whipped cheese + tomato | Tangy & bright |
| Spicy | Jalapeño + cheddar | Bold & zesty |
Experiment with different spread textures too. Natural varieties offer earthy notes, while honey-infused options add subtle sweetness. Seasonal fruits like berries or applesauce create refreshing summer versions, perfect for brunch gatherings.
Through testing, I’ve found these adaptations maintain the protein content while introducing new nutrients. Share your creations online using #MorningTwists—I regularly feature inventive reader versions in my weekly roundup!
Nutritional Insights and Health Benefits
Understanding what fuels your body helps turn tasty meals into nourishing choices. This breakfast staple delivers both flavor and nutrients through carefully balanced ingredients. Let’s explore how each component contributes to your daily wellness goals.
Macronutrient Breakdown
A single serving provides approximately:
| Nutrient | Amount | Daily Value % |
|---|---|---|
| Protein | 14g | 28% |
| Carbohydrates | 22g | 7% |
| Healthy Fats | 9g | 12% |
The protein boost comes from eggs and nut spreads, while whole-grain options add fiber. This combination helps stabilize blood sugar levels, keeping you full until lunch.
Advantages of Key Ingredients
- Eggs: Provide choline for brain health and all nine essential amino acids
- Cinnamon: Contains antioxidants that may reduce inflammation
- Whole-grain bread: Offers B vitamins for energy metabolism
Natural nut spreads contribute monounsaturated fats linked to heart health. For those with dietary restrictions, sunflower seed butter works equally well. Pair with berries for added vitamin C and antioxidants.
Through testing, I found using minimal butter in the pan maintains crispness without excess saturated fat. The recipe adapts beautifully to gluten-free or low-carb alternatives—swap bread for sweet potato slices or almond flour wraps.
Storage, Reheating, and Meal Prep Tips
Smart storage solutions keep your morning routine efficient while preserving that fresh-from-the-pan quality. Through trial and error, I’ve perfected methods to maintain texture and flavor for days.
Refrigeration and Freezing Guidelines
Cool rolls completely before storing to prevent sogginess. For best results:
- Airtight containers: Layer rolls between parchment paper (lasts 3 days refrigerated)
- Freezer bags: Remove air and seal tightly (stable for 1 month)
| Storage Method | Temperature | Duration |
|---|---|---|
| Refrigerator | 40°F or below | Up to 72 hours |
| Freezer | 0°F | 30 days maximum |
Reheat frozen rolls directly in a 375°F oven for 8 minutes. For quick mornings, use a toaster—30-second bursts prevent burning. Pro tip: Lightly butter the pan when reheating restores crispness better than oil.
“Meal prep transforms hectic mornings into grab-and-go victories.”
Batch cooking on Sundays ensures breakfast readiness all week. Pair with fresh fruit when reheating to balance textures. This approach works beautifully with french toast-inspired dishes, keeping your first meal both convenient and delicious.
Conclusion
Reimagining morning meals doesn’t require complex techniques—just smart combinations of everyday staples. This recipe revitalizes french toast traditions by introducing handheld convenience without sacrificing flavor. The marriage of creamy spreads with soft bread creates a satisfying contrast: crisp edges give way to velvety centers in every bite.
I encourage you to make this dish your own. Swap ingredients based on pantry availability or dietary preferences—sunflower seed spreads work beautifully for nut-free versions. Share your creations online; I love seeing how readers adapt these concepts!
What makes this approach stand out? Simplicity meets nutrition. Each serving delivers protein and healthy fats while keeping prep time under 15 minutes. Whether you’re fueling up for work or hosting weekend guests, these golden spirals adapt effortlessly to any occasion.
Thank you for exploring this culinary twist with me. Your experiences matter—drop a comment below about your favorite variations. Remember, great food starts with playful experimentation and quality basics. Here’s to transforming ordinary mornings into something extraordinary!