

Looking for a festive dessert that skips the oven and delivers big on flavor? This no-bake treat combines crushed Oreo cookies with layers of creamy goodness. It’s a showstopper for holiday gatherings. Perfect for busy hosts, it’s ready in minutes and decorated with cheerful colors to match the season’s vibe.
The base starts with a crumbly chocolate crust, mimicking garden “dirt” for playful presentation. A smooth blend of whipped cream cheese and instant pudding creates a luxurious texture. This texture balances sweetness without overwhelming the palate. Best of all, you can assemble it in a casserole dish for easy serving.
Top it off with pastel candies like marshmallow Peeps or mini chocolate eggs for a festive touch. Kids love the colorful toppings, while adults appreciate the nostalgic flavors. Whether you’re hosting a brunch or a family dinner, this recipe adapts to any springtime celebration.
Key Takeaways
- No-bake dessert ideal for last-minute holiday prep
- Features an Oreo cookie crust and creamy layers
- Uses instant pudding for quick assembly
- Decorated with seasonal candies for visual appeal
- Family-friendly option that saves time in the kitchen
Introduction to Easy Easter Dirt Cake Casserole

This playful layered treat first gained popularity in the 1980s as a time-saving alternative to traditional baked desserts. Its whimsical “garden” presentation and creamy texture make it a springtime favorite. The magic lies in the velvety cream cheese mixture, which combines softened cream cheese with powdered sugar for a rich yet airy foundation.
Instant chocolate pudding adds depth to the filling, while cool whip keeps it light. Together, they create layers that contrast beautifully with the crunchy Oreo base. One home baker raves:
“The cream cheese mixture is what makes it taste like a decadent cheesecake without the work!”
Here’s why this dessert works so well:
| Component | Purpose | Time Saved |
|---|---|---|
| Cream Cheese | Adds tangy richness | No softening needed |
| Cool Whip | Creates fluffy texture | Instant use |
| Instant Pudding | Boosts chocolate flavor | No cooking required |
Using cool whip instead of homemade whipped cream cuts prep time in half. The chocolate pudding mix blends seamlessly with the cream cheese mixture, ensuring every bite has balanced sweetness. For best results, chill the layers briefly between assembly to maintain distinct textures.
This dessert’s adaptability explains its lasting appeal. You can swap vanilla pudding for chocolate or use different cookie bases. The cream cheese mixture remains the star – its lush consistency ties all elements together while letting seasonal toppings shine.
Why Choose a No-Bake Easter Dessert
Hosting spring gatherings doesn’t have to mean hours in the kitchen. No-bake desserts shine during busy weeks when you need crowd-pleasing sweets without oven stress. Let’s explore why this approach works so well.
Streamlined Sweetness
No-bake recipes cut prep time by 50% compared to traditional baked goods. You skip preheating, baking, and cooling steps – just layer ingredients and chill. This leaves more time for decorating or enjoying guests.
Instant pudding mix is a game-changer. It thickens the cheese mixture instantly, creating a silky texture without cooking. Combined with whipped topping, it adds airy lightness to every bite. One baker notes:
“The whipped topping makes the layers fluffy yet stable – no deflated desserts here!”
| Traditional Desserts | No-Bake Option | Time Saved |
|---|---|---|
| 45+ minutes baking | 0 minutes oven time | 1 hour |
| Multiple bowls | One mixing bowl | Fewer dishes |
| Risk of overbaking | Foolproof assembly | Consistent results |
The cheese mixture stays velvety because it never faces heat. Whipped topping locks in moisture better than oven-baked fillings. Plus, you can prep it days ahead – flavors improve as layers meld in the fridge.
Key Ingredients and Tools for Your Easter Dirt Cake Casserole
Gathering the right components ensures your no-bake creation hits all the right notes. Quality ingredients and efficient tools transform simple layers into a decadent masterpiece. Let’s break down what you’ll need to achieve that signature creamy texture and satisfying crunch.
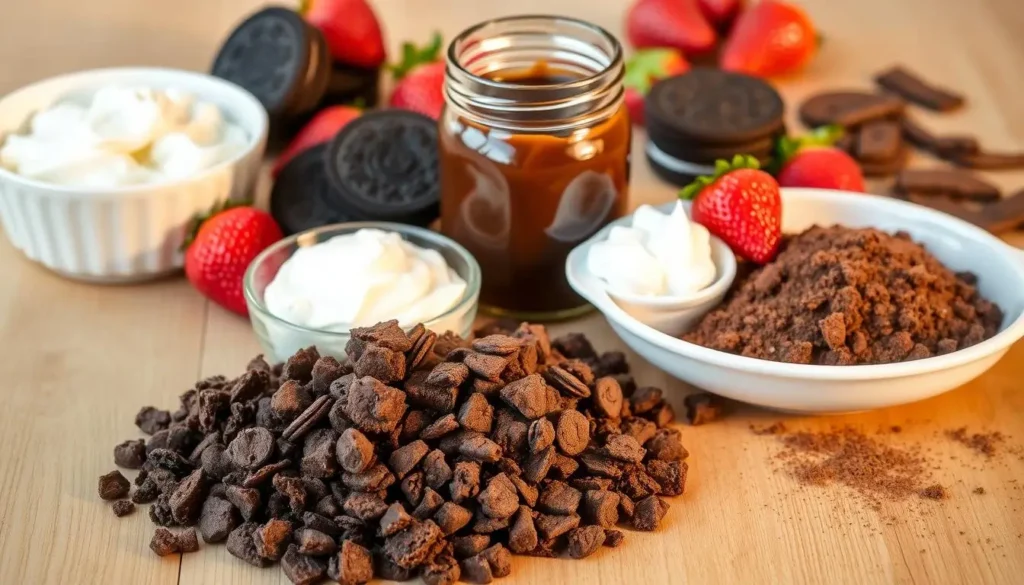
Essential Ingredients
| Ingredient | Role | Pro Tip |
|---|---|---|
| 36 Oreo cookies | Forms the chocolate “dirt” base | Crush finely for uniform texture |
| 8 oz cream cheese | Adds tangy richness | Softened to room temperature |
| 1/2 cup butter | Binds cookie crumbs | Unsalted for balanced sweetness |
| 3.4 oz instant chocolate pudding mix | Thickens filling | Use cold milk for faster setting |
| 16 oz Cool Whip | Lightens pudding mixture | Fold gently to maintain fluffiness |
Must-Have Kitchen Tools
| Tool | Purpose | Time Saver |
|---|---|---|
| 9×13 baking dish | Layered assembly | Opt for glass to showcase layers |
| Electric mixer | Blends cream cheese smoothly | Medium speed prevents lumps |
| Ziploc bags | Mixes colored coconut | Shake vigorously for even dye distribution |
The pudding mixture relies on precise ratios – too much milk makes it runny, while too little creates stiffness. For best results, use full-fat cream cheese. It blends seamlessly with the airy Cool Whip, creating a luxe mouthfeel. A sturdy spatula helps spread layers evenly without collapsing the whipped topping.
Step-by-Step Preparation Process
Building layers of flavor and texture is easier than you think with these foolproof steps. The process breaks down into three key phases: creating the base, whipping up the filling, and letting everything set to perfection. You’ll love how quickly these components come together for a dessert that looks impressive but demands minimal effort.
Preparing the Oreo Crust
Start by crushing 36 Oreo cookies into fine crumbs using a food processor or rolling pin. Mix them with melted butter until they resemble damp soil. Press this chocolate mixture firmly into a 9×13 dish – compact it with a measuring cup to prevent crumbling.
Mixing the Cream Cheese Mixture
Beat softened cream cheese with powdered sugar until smooth. Gently fold in Cool Whip using a spatula to maintain its airy texture. In a separate bowl, whisk instant pudding with cold milk until thickened. Combine both mixtures for a luxuriously creamy filling.
Chilling and Setting the Dessert
Spread the cheese blend evenly over the crust. Use the back of a spoon to create swirls that’ll hold toppings later. Chill for at least 4 hours – overnight works best. This allows layers to firm up while letting flavors meld. One baker suggests:
“Chilling transforms it from good to sliceable perfection!”
For clean servings, dip your knife in warm water before cutting. The contrast between crunchy base and velvety filling keeps every bite exciting. Leftovers? They’ll stay fresh refrigerated for up to 3 days.
The Oreo Crust and Cream Cheese Mixture
Mastering the foundation of this layered treat starts with two key components: a sturdy chocolate base and a velvety filling. Proper technique ensures each bite delivers satisfying crunch and smooth richness. Let’s break down how to optimize both elements for ideal texture.
Tips for Achieving the Perfect Texture
Crush Oreos until they look like fine sand. A food processor is best, but a rolling pin in a bag works too. Mix the crumbs with melted butter until they hold their shape. This makes a good base for creamy layers.
For the filling, soften cream cheese until it’s completely melted. Mix it with powdered sugar at medium speed until smooth. Be careful not to mix too much to avoid graininess. A pastry chef advises:
“The cream cheese mixture should coat the back of a spoon without sliding off – that’s your texture sweet spot.”
The Oreo base is like edible architecture. It keeps the dessert from getting soggy and adds to the creamy filling. Press the crumbs into your dish with a flat-bottomed cup for evenness.
Don’t overmix after adding whipped topping. Fold it gently with a spatula to keep it light. Overmixing can make the filling dense and lose its cloud-like quality. Chill the layers separately if you can – it helps keep the textures distinct.
How to Make Easter Dirt Cake Casserole
Making this dessert is easy in three steps: building the base, mixing the filling, and finishing it off. Start by mixing crushed chocolate cookies with melted butter for a solid base. Press this mixture into your dish – it’s the base for creamy layers.
Next, whip the cream cheese mixture until it’s smooth. Mix it with instant pudding made with cold milk for quick thickening. The milk makes the pudding creamy. Fold in whipped topping gently to keep it light.
Chilling is crucial. Let the dessert chill for at least four hours – better overnight. This lets the layers bond and intensify the flavors. A baker says:
“That refrigeration time isn’t optional. It turns liquidy layers into sliceable perfection!”
Finish with fun toppings. Sprinkles add crunch, and pastel candies add color. The final layer should look different from the dark base. Add decorations just before serving to keep the texture right.
Key steps in order:
- Crush cookies and mix with butter
- Whip cheese blend and pudding with milk
- Layer components and refrigerate 4+ hours
- Add toppings before slicing
Remember: chilling ensures clean cuts. Use a warm knife for neat portions. The pudding firms up well, and the whipped topping stays light. Together, they make a dessert that’s both beautiful and delicious.
Decorating Your Easter Dirt Cake
The final touches make this dessert a festive centerpiece. A few colorful additions can turn creamy layers into a springtime showstopper. Choose textures and colors that are playful yet elegant.
Creative Candy Ideas
Pastel candies add holiday charm. Cluster marshmallow chicks near the edges for a 3D effect, or nestle foil-wrapped eggs into the topping. For crunch, sprinkle jelly beans in groups of three. A baker advises:
“Arrange candies while the topping is slightly soft – they’ll stay put without sinking.”
- Use mini chocolate eggs for subtle sweetness
- Press rainbow sprinkles along the sides
- Create paths with licorice strips as edible “garden fences”
Using Green Coconut Grass for Decoration
Shredded coconut becomes grassy turf with food coloring. Place 1½ cups in a ziplock bag with 4-5 drops of green gel dye. Shake until evenly colored. Spread clusters over the dessert for a natural look.
Pair the coconut with other elements for depth. Try layering it under chocolate eggs or around marshmallow shapes. Store leftover dyed coconut in an airtight bowl for up to three days.
Customization is key – swap candies based on what’s in your pantry. Crushed cookies mimic soil patches, while pastel M&Ms add pops of color. Let kids design their own sections for interactive fun. The whipped topping acts as edible glue, securing decorations without extra steps.
Nutritional Information and Dietary Considerations
Knowing what’s in your dessert helps you enjoy it more mindfully. Let’s see how this layered treat fits into different diets while keeping the flavors rich.
Calorie Breakdown and Serving Details
A standard serving (1/12th of the dish) gives you:
| Nutrient | Amount | % Daily Value* |
|---|---|---|
| Calories | 420 | 21% |
| Total Fat | 22g | 28% |
| Carbohydrates | 54g | 20% |
| Sugars | 38g | ― |
| Protein | 5g | 10% |
Lighter versions cut calories by 30% with sugar-free pudding mix and reduced-fat toppings. For comparison:
- Regular: 420 calories, 22g fat
- Light: 290 calories, 12g fat
The original recipe includes dairy from cream cheese and whipped topping. For those with lactose intolerance, coconut cream is a good substitute for airy texture. To cut sugar, use dark chocolate cookies and reduce powdered sugar in the cheese mixture.
Adding festive elements like marshmallow peeps adds 50 calories per decoration. For quicker prep, store-bought cookie crumbs save 10 minutes compared to crushing whole cookies. Always top with fresh berries if serving guests with nut allergies.
Storing and Serving Your Easter Dessert
Proper storage keeps your layered treat fresh and its textures intact. Always use an airtight container or press plastic wrap directly onto the surface to prevent drying. This method keeps moisture in without making the Oreo crust soggy.
Smart Refrigeration Strategies
Refrigerate your dessert for up to 4 days. Add delicate toppings like whipped cream or candy pieces just before serving to avoid wilting. For best results:
| Storage Method | Duration | Key Tips |
|---|---|---|
| Refrigeration | 3-4 days | Use toothpick-supported plastic wrap |
| Freezing | 1 month | Slice portions before freezing |
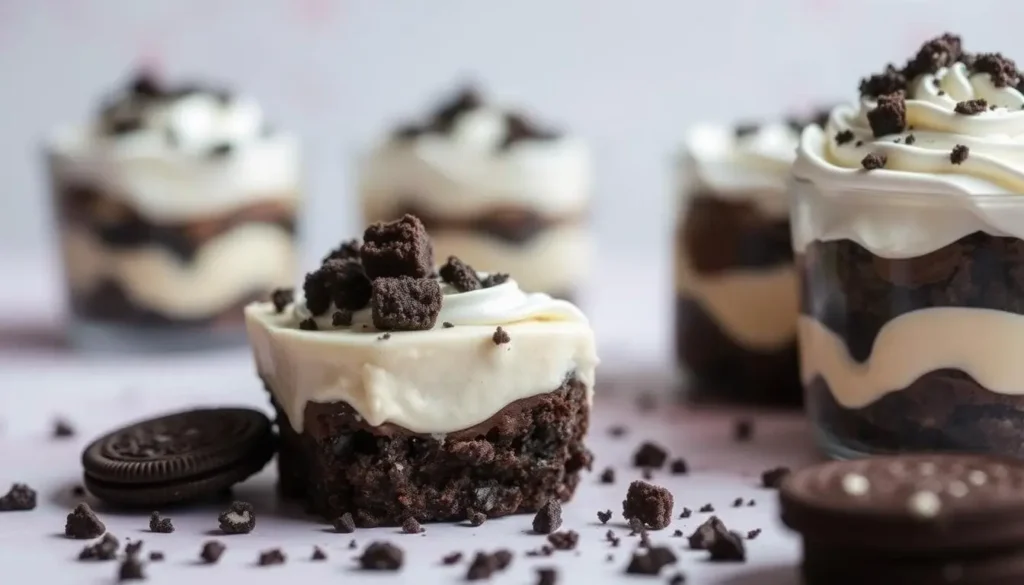
Keep the cookie base crisp by placing parchment paper between layers if stacking. Leftovers? Transform them into single-serve parfaits by layering crumbled Oreo pieces with leftover filling in cups.
For large gatherings, pre-slice portions using a warm knife. This prevents the crust from cracking. One baker shares:
“Chilling individual slices in 4 oz cups makes grab-and-go servings a breeze!”
Repurpose extra cookies into crust crumbles for yogurt toppings or mix into ice cream recipes. The creamy filling works well as a fruit dip when thinned with milk.
Additional Tips and Dessert Hacks
Elevate your dessert game with clever kitchen strategies that save time while boosting flavor. These adaptable ideas let you customize textures and decorations without extra effort.
Time-Saving Shortcuts and Customizations
Prep ingredients ahead by crushing Oreos in a ziploc bag days before assembly. Store them in an airtight container to maintain crunch. For faster layering, use pre-made pudding cups instead of mixing powder with milk.
Swap out toppings based on what’s in your pantry. Crushed peppermint candies add winter flair, while toasted coconut works year-round. One baker shares:
“I keep a package of assorted sprinkles in my pantry – they transform any dessert into a celebration!”
Time-Saving Hacks for No-Bake Oreo Dessert
Make your no-bake Oreo dessert faster with these hacks. Crush cookies in a food processor for 90 seconds instead of 8 minutes with a rolling pin. Use an electric mixer for the filling to save time.
Decorate your dessert quickly with a shaker bottle for sprinkles. This trick saves time and effort.
Freeze leftover whipped topping in ice cube trays for future baking projects. Use extra cookie crumbs as yogurt mix-ins or pie crusts. Layer ingredients in serving cups for a quicker dessert.
Try these themed variations:
- Use butterscotch pudding and peanut butter cups
- Swap chocolate cookies for golden Oreos
- Add citrus zest to the cream cheese mixture
Conclusion
Turn ordinary ingredients into a stunning dessert for any spring event. This no-bake treat combines crunchy and creamy layers. It’s impressive without needing complex techniques.
Quality ingredients are key. Softened cream cheese blends smoothly, and chilled pudding makes firm slices. Press the cookie crust firmly to avoid crumbling.
Ready to impress your guests? Make this dessert for any occasion. Share your decorated dessert with us and tag us. For more quick desserts, check out our collection ,I suggest you this recipe, it seems you will like it very much.
Cinnamon Balls Recipe: 7 Tips For The Best Flavor Ever
Delicious & Quick Breakfast Soups to Start Your Day Right!
FAQ
Can I make this dessert ahead of time?
Yes! Assemble it up to 24 hours in advance. Keep it refrigerated until ready to decorate and serve. The flavors blend better after chilling.
What can I use instead of cream cheese?
For a lighter option, try Greek yogurt. For dairy-free needs, use vegan cream cheese. Adjust sugar levels if using alternatives.
How do I prevent the Oreo crust from getting soggy?
Press the crumbs firmly into the dish and let the crust set in the fridge for 15–20 minutes before adding the pudding mixture.
Can I use sugar-free pudding mix?
Absolutely. Swap regular pudding with sugar-free versions to reduce calories. Opt for almond milk to cut sugar further.
How long does it take to set in the fridge?
Let it chill for at least 4 hours. For best results, leave it overnight. The layers firm up, making slicing cleaner.
What candies work best for decorating?
A> Peeps, jelly beans, or chocolate eggs add festive flair. Use green-tinted coconut shreds to mimic “grass” for a garden theme.
Can I freeze leftovers?
Freezing isn’t recommended. The whipped topping may separate when thawed. Store covered in the fridge for up to 3 days.
Do I need a stand mixer for the cream cheese layer?
A hand mixer works fine. Blend softened cream cheese with powdered sugar first, then fold in cool whip for a fluffy texture.
Are there gluten-free options?
Use gluten-free chocolate sandwich cookies. Check pudding mix labels to ensure they’re certified gluten-free.
Can I layer this in individual cups?
Yes! Serve in mason jars or clear cups for a portable treat. Crush cookies finely to mimic “dirt” texture in smaller portions.