
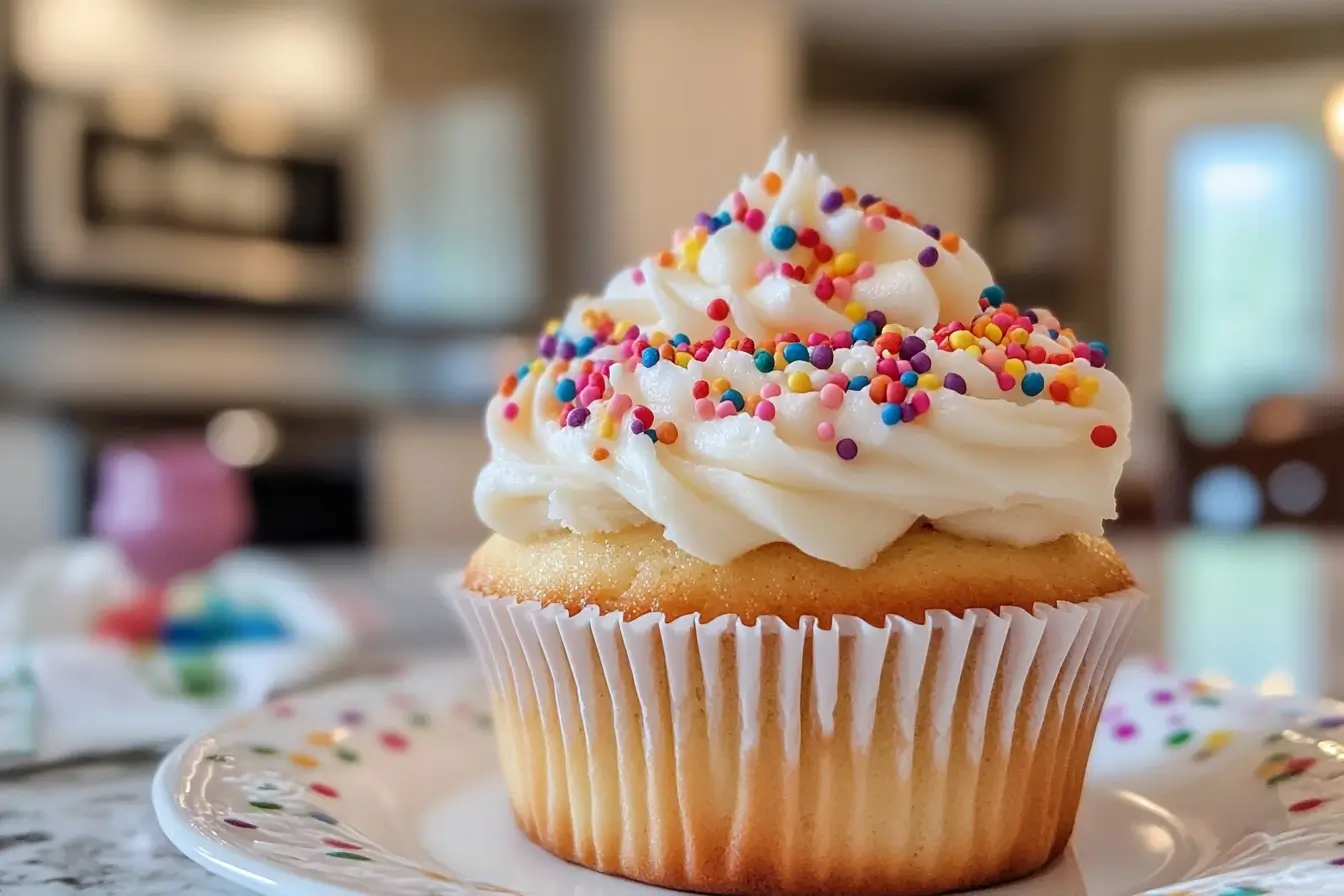
Using a block of full-fat cream cheese (not the spreadable kind) ensures a thick, stable consistency that holds its shape. Combined with butter, powdered sugar, and vanilla, it creates a luxurious topping that pairs beautifully with spice cakes, red velvet treats, or even as a fruit dip.
This guide will walk you through selecting the right ingredients, achieving the ideal texture, and customizing flavors. Let’s turn your baked goods into showstoppers with minimal effort!
Key Takeaways
- Whip up a smooth, tangy topping in under 10 minutes with pantry staples
- Full-fat cream cheese blocks work better than tubs for stable results
- Balances sweetness with a subtle sharpness that cuts through rich cakes
- Perfect for decorating layer cakes, cookies, or seasonal desserts
- Easily adapts to flavor variations like citrus zest or maple syrup
Gathering Your Ingredients

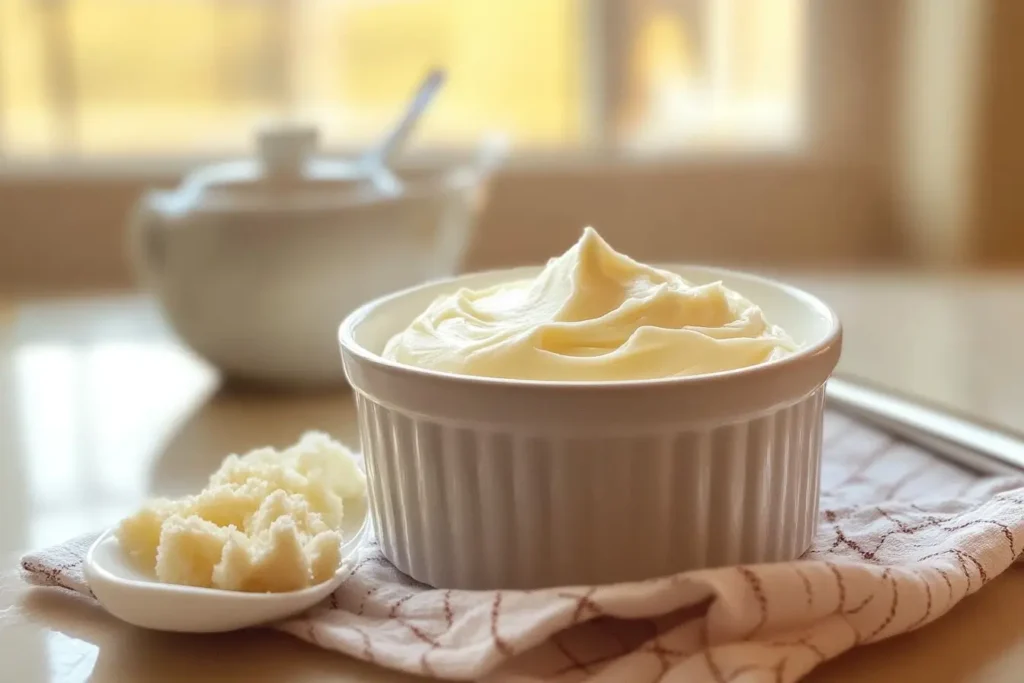
Great recipes start with quality components. For this velvety topping, you’ll need just four items: unsalted butter, confectioners’ sugar, pure vanilla extract, and a brick-style dairy product. Skip the tub varieties—they contain extra moisture that leads to runny results.
Choosing the Right Base
Always opt for full-fat blocks when selecting your primary ingredient. These firm rectangles blend smoothly with butter and hold their structure better than whipped alternatives. Let both the base and butter soften at room temperature for 30-60 minutes before mixing—this prevents lumpy textures.
Precision With Sweetness
Use a dry measuring cup for confectioners’ sugar, leveling it with a knife for accuracy. Too much creates overpowering sweetness; too little leaves the mixture loose. For butter, stick to unsalted varieties to control sodium levels. A half-cup (1 stick) provides richness without greasiness.
Pure vanilla extract adds depth, while imitation versions can taste artificial. One teaspoon typically balances the tanginess perfectly. Measure all items before starting—this “mise en place” approach keeps your workflow efficient and error-free.
Step-by-Step Instructions
The secret to smooth results lies in how you combine the components. With the right tools and timing, you’ll create a velvety mixture that spreads like a dream.
Mixing Techniques with an Electric Mixer
Start by placing softened butter and your primary ingredient in a large bowl. Use a handheld or stand mixer on medium-low speed for 2 minutes to blend them evenly. Gradually add powdered sugar in three batches to prevent clumps.
Increase the speed to high and beat cream cheese mixture for another 3 minutes until fluffy. Stop every 60 seconds to scrape the bowl’s sides with a rubber spatula. This ensures no unmixed bits get left behind.
If the texture feels too thick, add a teaspoon of milk. For thin mixtures, chill the bowl for 15 minutes before whipping again. No electric tools? A sturdy whisk and 8-10 minutes of vigorous stirring can work—just expect a workout!
Total prep time stays under 10 minutes with appliances. Once smooth, let the blend rest for 5 minutes to stabilize. Now it’s ready to pipe or spread onto desserts!
Achieving the Ideal Texture and Consistency
The foundation of a perfect topping lies in mastering its texture. Proper technique and ingredient preparation determine whether your blend stays silky or turns soupy. Let’s explore how room temperature components and measured sweetness create a balanced, spreadable result.
Importance of Room Temperature Ingredients
Cold butter and dairy can make lumps that mess up the frosting’s smoothness. Letting ingredients sit at room temperature for 60 minutes helps them blend well. This avoids overmixing, which can introduce too much air and weaken the frosting.
Check if the butter is ready by pressing your thumb into it. It should leave a shallow dent without sinking. If it’s too soft, chill it for 10 minutes before whipping.
Tips for Avoiding a Runny Frosting
If your frosting looks too thin, add powdered sugar slowly. Start with 1 tablespoon at a time until it thickens. For every ¼ cup of sugar added, balance the flavor with a pinch of salt or ½ teaspoon lemon juice.
| Issue | Quick Fix | Prevention Tip |
|---|---|---|
| Too thin | Chill bowl 15 mins | Use block-style dairy |
| Overly sweet | Add citrus zest | Reduce sugar by 2 tbsp |
| Grainy texture | Sift sugar twice | Mix at medium speed |
Always sift confectioners’ sugar to remove clumps before blending. If you need to adjust the taste, a dash of vanilla or almond extract can help. This adds flavor without making it too sweet.
Cream Cheese Frosting: Essential Techniques
Make your desserts look like they came from a bakery with smart decorating. Piping is better for special occasions, while spreading works for casual treats. Knowing how to handle the frosting is key to creating beautiful designs.
Piping Strategies and Pre-Chilling Tips
Piping vs. spreading: Chilled mixtures are better for detailed designs, while spreading is good for rustic looks. Consider these points:
- Pros of piping: Creates uniform patterns, perfect for layered cakes
- Cons: Needs thicker consistency and precise temperature control
Use open-star or round tips for detailed shapes. Chill your decorated goods for 10 minutes after piping to keep the details sharp. One baker said: “Refrigerating the mixture for 25 minutes before bagging it made my holiday cupcake swirls crisp and photo-ready.”
To keep things stable, fold the dairy-based blend with a spatula after chilling. This removes air pockets. Work quickly in cool kitchens to keep the frosting smooth. Warm environments can soften it too fast.
| Piping Tip | Best For | Chill Time |
|---|---|---|
| Star #1M | Swirls | 20 mins |
| Round #12 | Borders | 25 mins |
| Petal #104 | Ruffles | 30 mins |
Vanilla enhances the flavor without overpowering the design. Use these tips for other recipes like spiced apple cakes or lemon zest cookies for consistent results.
Flavor Variations and Customizations
Explore new flavors by reinventing your favorite frosting. A simple recipe can become a canvas for creative flavors. From warm spices to rich chocolate cream cheese blends, small changes can make a big difference.
Spice It Up With Seasonal Flavors
Add depth with ground cinnamon or pumpkin spice. Start with ¼ teaspoon per cup of mixture and taste as you go. For holiday treats, try cardamom or nutmeg with orange zest.
Citrus extracts like lemon or lime add a bright tanginess without changing the texture. One baker noted: “A drop of lemon oil made my vanilla-based topping pop against berry-filled cupcakes.” Always use pure extracts for the best flavor.
Mastering the Chocolate Version
Replace ¼ cup powdered sugar with unsweetened cocoa powder for a rich chocolate cream cheese mix. Sift it twice to avoid graininess. For extra richness, melt 2 oz dark chocolate and mix it into the whipped cream.
| Add-In | Quantity | Best Pairings |
|---|---|---|
| Cinnamon | ½ tsp | Carrot cake |
| Cocoa powder | ⅓ cup | Red velvet |
| Lemon extract | ¼ tsp | Blueberry muffins |
When using chocolate, cut down sugar by 2 tablespoons to balance it. A teaspoon of espresso powder can enhance cocoa powder’s flavor without being too strong. Let your taste buds explore!
Using Frosting on Cakes, Cupcakes, and More
This topping is great for many desserts. Its sweetness and smooth texture are perfect for cookies and cakes. Find the right match for its tangy flavor.
Perfect Pairings for Carrot and Spice Cakes
The topping’s slight sharpness is great with dense, spiced cakes. Carrot cake is a classic choice. The earthy sweetness of carrots pairs well with the topping’s creaminess. One baker says: “This mixture turned my holiday spice cake into a hit with its tangy touch.”
Try these ideas:
- Pipe rosettes onto cupcakes for birthdays
- Spread it between gingerbread cookie layers
- Drizzle it over cinnamon rolls for a sweet glaze
For lighter desserts, pair it with citrusy pound cake or lemon muffins. Here are some popular pairings:
| Dessert | Serving Style | Flavor Boost |
|---|---|---|
| Carrot cake | Layered | Walnut crunch |
| Pumpkin bars | Swirled | Candied ginger |
| Banana bread | Dipped | Sea salt sprinkle |
Chill your piping bag for 10 minutes before decorating cupcakes. This keeps the details sharp in warm kitchens. This topping makes every dessert better.
Proper Storage and Thawing
Keep your homemade topping fresh for quick dessert fixes. Follow these tips to keep it fresh and flavorful.
Refrigeration Best Practices
Keep it in an airtight container for up to 5 days. Press plastic wrap on the surface before sealing to avoid crust. Refrigerator temperatures (34-38°F) slow down bacterial growth without hardening it.
- Label containers with dates
- Keep away from strong smells
- Stir gently before using again
Freezing and Thawing Tips
Freeze portions in sealed bags for 3 months for longer storage. Thaw overnight in the fridge—never at room temperature. If it separates, beat cream cheese butter mixture for 2 minutes to smooth it out.
| Storage Method | Duration | Texture Tip |
|---|---|---|
| Refrigerator | 5 days | Stir before use |
| Freezer | 3 months | Re-whip after thawing |
Add a drop of vanilla extract when refreshing frozen batches to revive brightness. One baker shared: “Portioning leftovers into ice cube trays lets me grab just enough for last-minute cookie decorating.” For best results, consume thawed blends within 48 hours.
Troubleshooting and Common Mistakes
Even experienced bakers sometimes face texture mishaps when making dessert toppings. Knowing where things go wrong helps fix errors quickly and save your creations. Let’s tackle the most frequent issues head-on.
Rescuing Your Mixture
A runny texture often comes from using spreadable dairy products instead of block-style ones. These have extra water that weakens the structure. If this happens, add powdered sugar—1 tablespoon at a time—while mixing on low speed. For every ¼ cup added, balance flavors with a teaspoon of lemon juice.
Lumpy blends usually mean your unsalted butter or base ingredient was too cold. Chop hardened bits finely, then briefly microwave (5-second bursts) until pliable. One baker advises: “Returning the mixture to the mixer for 90 seconds after warming saved my red velvet cake layers from a grainy disaster.”
| Issue | Fix | Prevention |
|---|---|---|
| Too thin | Chill bowl + re-whip | Use block-style dairy |
| Butter separation | Fold in 1 tsp cornstarch | Soften ingredients fully |
| Overly sweet | Add citrus zest | Reduce sugar by 3 tbsp |
For cookies or layered cakes needing firm textures, avoid overmixing. Beat just until combined—excessive air creates weak peaks. If working with chocolate cream variations, sift cocoa twice and mix at medium speed to prevent grittiness.
Conclusion
Elevate your baking with a versatile topping that’s both simple and impressive. By using room-temperature ingredients and proper mixing techniques, you’ll achieve a smooth texture every time. Remember: block-style dairy products and precise sugar measurements prevent runny results while maintaining balanced flavor.
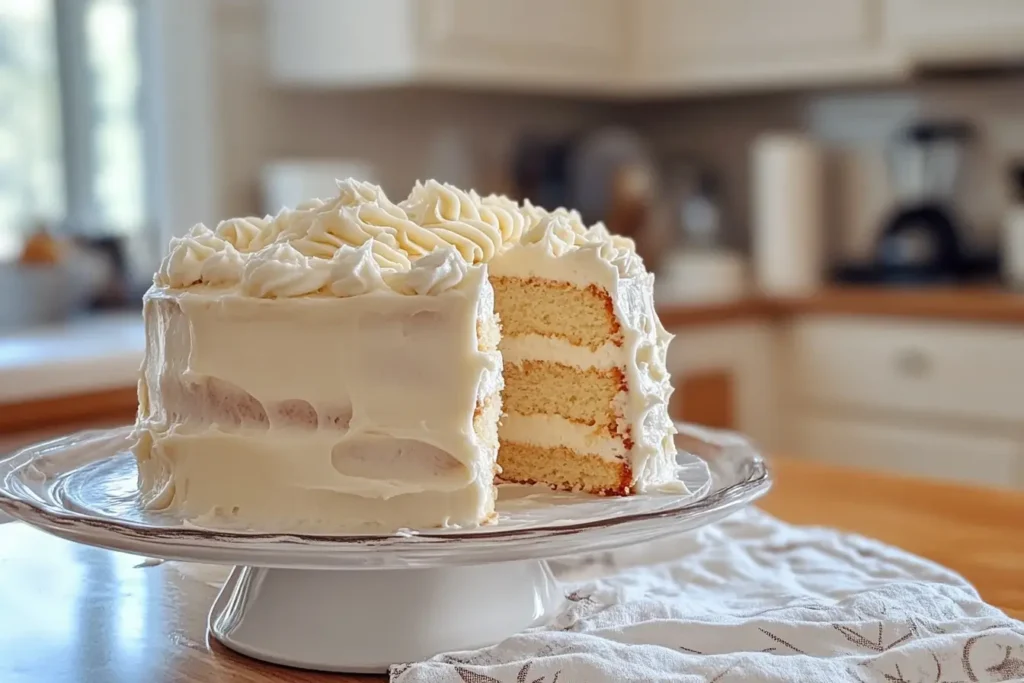
This adaptable blend shines when used as a luxurious layer between cake tiers or as a polished top for cupcakes. Try swirling it over spice-infused treats or spreading it between cookie layers. For new twists, mix in citrus zest, cocoa powder, or warm spices—each addition creates a unique profile without complicating the process.
Whether you’re dressing up birthday cakes or adding flair to holiday cookies, this recipe delivers professional results in minutes. Don’t hesitate to experiment with flavors and applications—your next signature dessert awaits!
Cream Cheese Frosting
Gooey Salted Caramel Cream Cheese Cupcakes – Irresistible Treat!
Easy Homemade Cheesecake Brownies: A Delicious Combo
The Best Cinnamon Roll Muffins
FAQ
What’s the best type to use for homemade frosting?
Full-fat varieties like Philadelphia brand work best. They provide stability and richness. Avoid low-fat options, as they can lead to a runny texture.
Why do ingredients need to be at room temperature?
Softened butter and dairy blend smoothly, preventing lumps. Cold items cause separation, which affects consistency and spreadability.
Can I fix frosting that’s too thin?
Yes! Chill it for 20–30 minutes, then re-whip. For thicker results, add ¼ cup powdered sugar at a time until desired firmness.
How do I make it pipeable for cupcakes?
Pre-chill the mixture for 15–20 minutes before loading into a piping bag. This helps it hold sharp shapes without losing definition.
What’s a simple way to add chocolate flavor?
Mix in ½ cup sifted cocoa powder or melted dark chocolate. Adjust sugar to balance bitterness, and add a pinch of salt for depth.
Which desserts pair well with this topping?
Carrot, red velvet, and spice cakes are classics. It also complements cinnamon rolls, pumpkin bars, or as a dip for fresh fruit.
How long can I store leftovers?
Keep refrigerated in an airtight container for up to 5 days. For longer storage, freeze for 2–3 months and thaw overnight in the fridge.
Can I substitute granulated sugar for powdered?
No—powdered sugar dissolves better and adds smoothness. Granulated varieties create a gritty texture that’s unpleasant in frostings.