
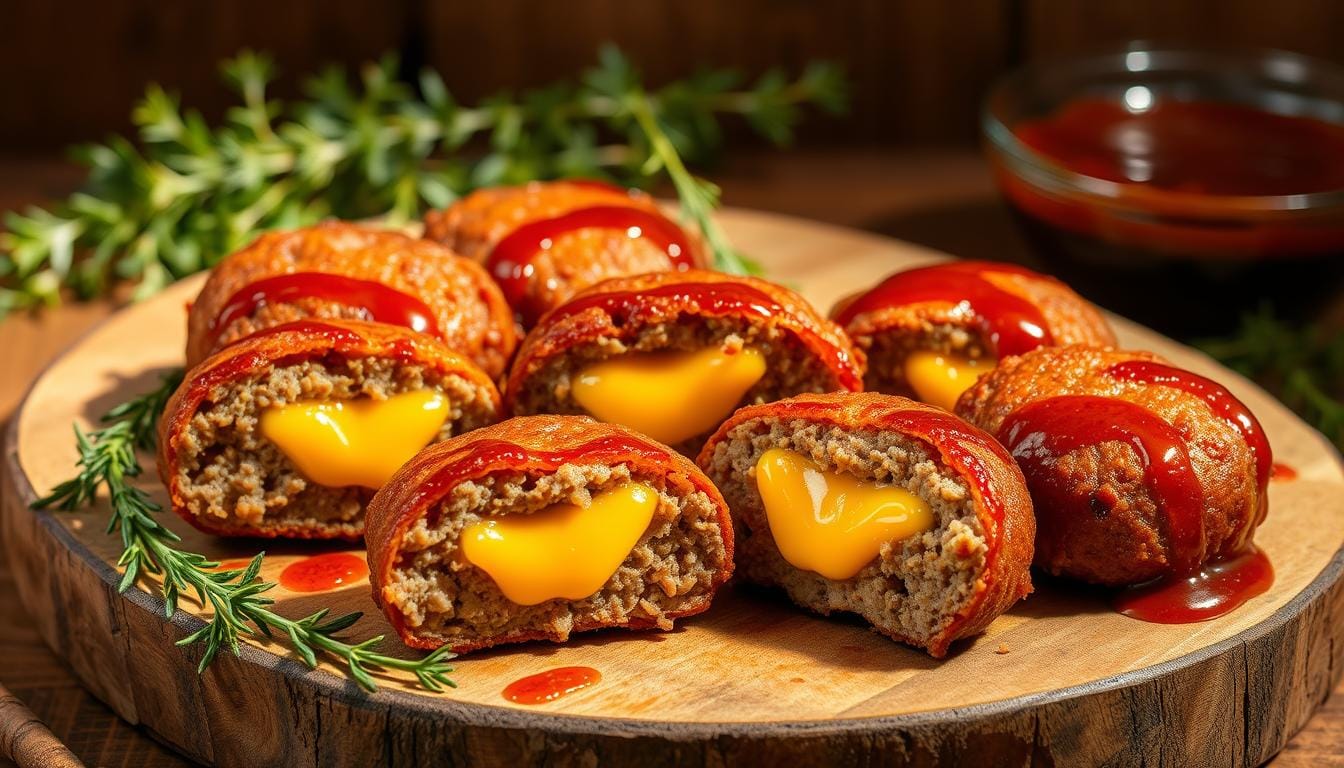
Looking for a finger food that’s equal parts comforting and impressive? These savory morsels blend the classic appeal of meatloaf with a gooey cheese center, creating bite-sized perfection for any gathering. Whether you’re hosting game night or a holiday party, they’re guaranteed to disappear fast.
What makes this appetizer stand out? It starts with quality ground beef seasoned to perfection, wrapped around a molten cheddar core. The recipe skips complicated steps, focusing on easy prep. Just line your baking sheet with parchment paper to prevent sticking, shape the mixture into portions, and bake until golden.
These bites aren’t just tasty—they’re practical. You can prepare them ahead of time and reheat before guests arrive. Serve them with dipping sauces like ranch or marinara for extra flair. Even picky eaters will ask for seconds.
Key Takeaways
- Combines traditional meatloaf flavors with a cheesy twist for crowd-pleasing appeal
- Uses simple ingredients like ground beef and cheddar for reliable results
- Easy to prepare with minimal cleanup using parchment-lined baking sheets
- Versatile for parties, family dinners, or casual snacks
- Freezer-friendly for make-ahead convenience
Introduction to Cheesy Stuffed Meatloaf Bites
Meatloaf has been a family favorite since the Great Depression, when cooks stretched ingredients to feed hungry households. Today’s version transforms that hearty staple into crowd-friendly portions bursting with melted cheddar. These savory creations keep the nostalgic flavor while adding finger-food convenience for today’s social events.

Discovering a Modern Twist on a Classic Dish
Traditional recipes often featured basic seasonings and a loaf shape. The updated approach wraps seasoned ground beef around a cheddar cheese core, creating bite-sized surprises. Using a lined baking sheet ensures even cooking and easy cleanup—no more wrestling with sticky pans.
| Feature | Traditional | Modern |
|---|---|---|
| Shape | Full loaf | Individual portions |
| Serving Style | Main dish | Party appetizer |
| Cheese Center | None | Cheddar cheese |
| Prep Surface | Greased pan | Parchment paper |
Why You’ll Love This Party Appetizer
Three factors make these morsels stand out. First, the molten cheddar center adds excitement to every bite. Second, they bake uniformly on a single sheet parchment-lined tray. Finally, you can customize spices or swap cheeses to match your guests’ preferences.
Perfect for game days or holiday gatherings, they reheat beautifully. Serve them with toothpicks and dipping sauces for effortless entertaining. Even better? Leftovers freeze well for quick future meals.
Essential Ingredients and Tools
The secret to irresistible appetizers lies in quality ingredients and proper tools. Fresh components ensure rich flavor, while the right equipment guarantees consistent results every time. Let’s break down what you’ll need to create these crowd-pleasing morsels.

Shopping List for Success
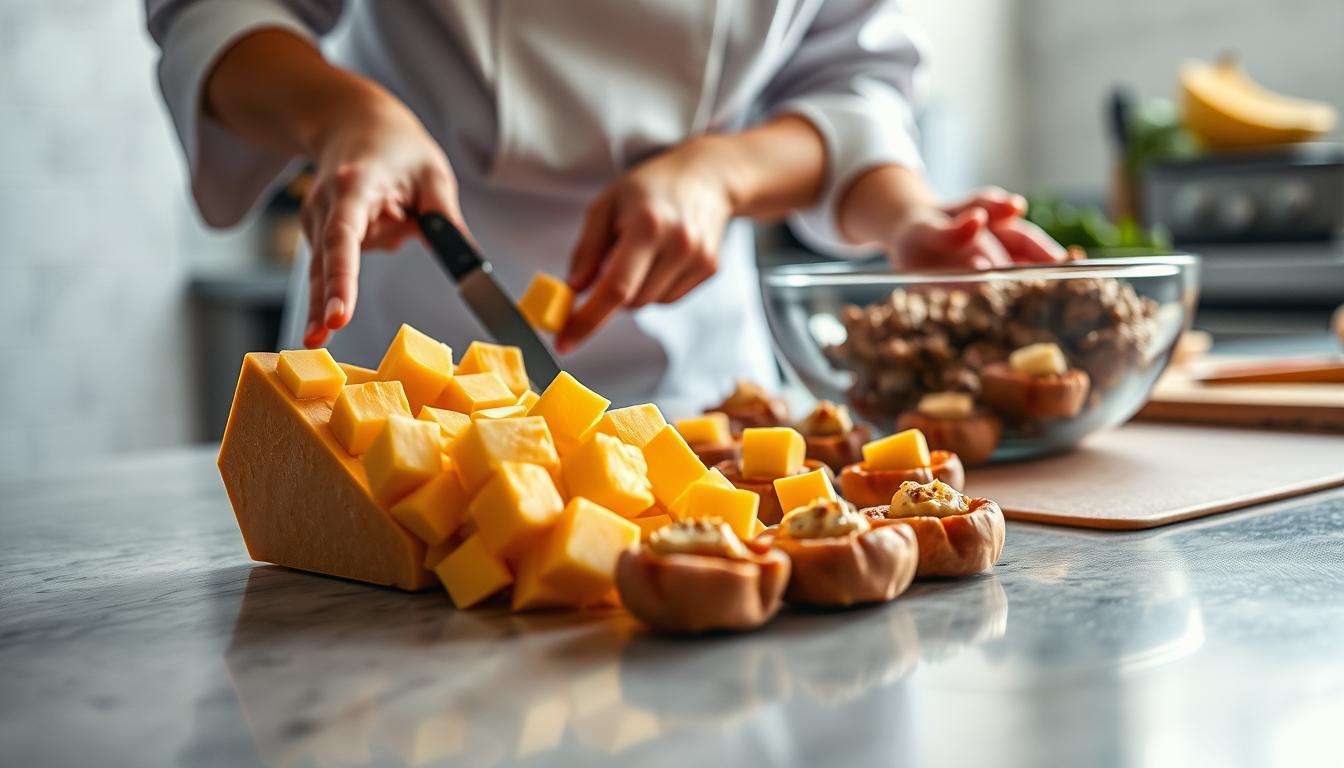
Start with 80/20 ground beef—its fat content keeps bites juicy. Combine it with breadcrumbs, an egg, and spices like garlic powder. For the signature cheesy center, use sharp cheddar cubes. Don’t forget ketchup1 tablespoon for glazing or mixing into the meat blend.
Fresh parsley adds color, while Worcestershire sauce deepens the savory notes. Always check expiration dates on dairy products. Pre-shredded cheese works in a pinch, but blocks melt better.
Must-Have Kitchen Equipment
A sturdy baking sheet lined with parchment paper prevents sticking and promotes even browning. Use an oven thermometer to verify it reaches 350°F before baking. A cookie scoop helps portion uniform sizes, and silicone spatulas make mixing effortless.
| Tool | Purpose | Pro Tip |
|---|---|---|
| Parchment Paper | Non-stick surface | Line baking sheets fully |
| Meat Thermometer | Check doneness | Aim for 160°F internally |
| Mixing Bowls | Combine ingredients | Use stainless steel |
Bake minutes vary slightly based on portion size—start checking at 18 minutes. Let bites rest 5 minutes before serving to lock in juices. Follow these steps, and your appetizers will steal the spotlight.
Step-by-Step Preparation Guide
Mastering these savory appetizers begins with precise preparation. Follow these straightforward steps to achieve golden-brown exteriors and irresistible molten centers. Organization is key—gather your ingredients and tools before starting.
Preheating the Oven and Setting Up
Start by heating your oven to 375°F. This temperature balances thorough cooking with a crispy crust. Line a rimmed baking sheet with parchment paper—the non-stick surface prevents sticking without excess grease.
Mixing and Forming the Appetizers
Combine ground beef, breadcrumbs, egg, garlic powder, and paprika in a bowl. Mix gently until just combined—overworking creates dense bites. Scoop 1½ tablespoons of the mixture, flatten it, and press a cheddar cube into the center.
Wrap the meat around the cheese, rolling it into smooth balls. Place them 2 inches apart on your prepared sheet. Bake for 18-22 minutes until internal temps reach 160°F. Let rest 5 minutes before serving to lock in juices.
Timing matters: set a timer halfway through baking to rotate the pan. This ensures even browning. For extra flavor, brush the bites with a ketchup glaze during the last 5 minutes.
Cheesy Stuffed Meatloaf Bites: The Star of Your Appetizer Spread
Elevate your appetizer game with a glossy finish and precise cooking methods. The final steps transform seasoned meat into golden, flavor-packed morsels. A tangy glaze and controlled oven time turn simple ingredients into crowd-pleasing perfection.
Brushing with the Perfect Glaze
Create a balanced sauce using equal parts ketchup and mustard. Add a teaspoon of brown sugar for caramelization. This trio enhances the savory beef and melted cheese without overpowering them.
Use a silicone brush to coat each piece evenly. Apply two thin layers—once before baking and again halfway through. This method prevents sogginess while locking in moisture.
| Glaze Ingredient | Purpose | Pro Tip |
|---|---|---|
| Ketchup | Adds sweetness | Use no-sugar-added varieties |
| Mustard | Provides tang | Dijon works best |
| Brown Sugar | Promotes browning | Dissolve completely |
Baking to Perfection
Preheat your oven to 375°F for consistent heat distribution. Bake for 18-22 minutes—the exact time depends on your appliance’s calibration. Rotate the tray halfway through for even browning.
Check internal temperatures with a meat thermometer. Remove bites at 160°F to prevent cheese leakage. Let rest 5 minutes before serving to set the glaze.
| Oven Type | Baking Time | Doneness Check |
|---|---|---|
| Conventional | 20-22 mins | 160°F center |
| Convection | 18-20 mins | 155°F center |
Serving Suggestions and Presentation Ideas
Transform your party spread into a visual feast with smart plating strategies. A well-designed presentation boosts appetizer appeal and encourages guests to dig in. Follow these tips to showcase your savory creations like a pro.
Creating an Attractive Appetizer Platter
Start with a slate board or ceramic platter for rustic charm. Arrange bites in concentric circles, leaving space for garnishes like rosemary sprigs or cherry tomatoes. Use small bowls of lemon wedges to add pops of color and freshness.
Elevate height with tiered stands for dynamic visuals. Sprinkle paprika or chopped parsley around the edges for contrast. For holiday gatherings, add edible flowers or themed toothpick flags.
| Plating Element | Purpose | Example |
|---|---|---|
| Textured Surface | Adds visual interest | Slate, wood slab |
| Garnishes | Enhance freshness | Microgreens, citrus zest |
| Negative Space | Prevents crowding | 2-inch gaps |
Pairing with Dipping Sauces and Sides
Offer three sauce options in ramekins—creamy ranch, smoky barbecue, and spicy sriracha mayo. Mix sauces in a bowl with 1 teaspoon of lime juice for brightness. Balance rich flavors with light sides like arugula salad or roasted veggies.
For heartier meals, serve alongside garlic mashed potatoes or buttered corn. A chilled coleslaw adds crunch without overpowering the main dish.
| Sauce | Flavor Profile | Best For |
|---|---|---|
| Horseradish Cream | Tangy & bold | Beef lovers |
| Sweet Chili | Spicy-sweet | Asian fusion |
| Garlic Aioli | Rich & savory | Mediterranean |
Optimal Storage and Reheating Techniques
Keep your savory creations tasting fresh with smart storage solutions. Proper handling preserves texture and flavor, letting you enjoy leftovers that taste like they just came out of the oven.
Refrigeration and Freezing Tips
Cool cooked bites completely before storing. Place them in airtight containers with sheet parchment paper between layers. This prevents sticking while maintaining each ball’s shape. Refrigerate for up to 4 days—ideal for quick family snacks.
For longer storage, freeze portions on a baking sheet lined with parchment. Once solid, transfer to freezer bags. Squeeze out excess air to prevent freezer burn. Frozen bites stay fresh for 3 months.
Reheat refrigerated portions in a 350°F oven for 8 minutes. Microwave frozen ones in 30-second bursts, covering them with a damp paper towel. This method revives spices like garlic and pepper without drying out the meat.
Always check internal temperatures reach 165°F before serving again. These steps ensure your appetizers stay safe and satisfying—perfect for last-minute guests or busy weeknights.
Recipe Variations and Pro Tips
Unlock endless possibilities by tailoring this dish to your taste or dietary needs. Simple swaps and additions let you reinvent the recipe while keeping its crowd-pleasing essence. Whether aiming for lighter meals or heartier comfort food, these tweaks deliver delicious results.
Exploring Flavor Variations and Substitutes
Swap ground beef for turkey or chicken to lighten the dish. Vegetarian? Try plant-based crumbles mixed with 1 tablespoon of olive oil for moisture. Cheese alternatives like pepper jack or smoked gouda add bold twists to the molten center.
Boost texture with sautéed mushrooms or diced onion. For gluten-free versions, use crushed gluten-free crackers instead of breadcrumbs. Mix in ½ tablespoon of chili powder for a spicy kick.
| Ingredient | Substitute | Flavor Impact |
|---|---|---|
| Ground Beef | Ground Turkey | Lighter, milder |
| Cheddar | Pepper Jack | Spicy, creamy |
| Breadcrumbs | Oats | Nutty, gluten-free |
Enhancing Your Dish with Extra Ingredients
Add roasted garlic or ¼ cup of grated zucchini for hidden veggie power. Top with crispy potatoes crumbles for crunch. For a cozy dinner, serve over mashed potatoes with gravy.
Line baking sheets with parchment paper when testing new mixes—it prevents sticking if ingredients release moisture. Always chill shaped portions on paper-lined trays for 15 minutes before baking to maintain structure.
Conclusion
Perfecting party snacks requires both flavor and practicality—this dish delivers both effortlessly. By combining quality ingredients like sharp cheddar and fresh herbs with clear step-by-step instructions, you create bite-sized wonders that wow guests every time.
Focus on goodness from the start: premium beef, grated cheddar cheese, and a sprinkle of cup fresh parsley elevate the recipe. Following precise baking times ensures golden exteriors with molten centers—proof that attention to detail pays off.
What makes these savory morsels stand out? Their versatility. They shine at casual weeknight dinners or holiday spreads, adapting to any occasion. Serve them warm with dipping sauces or as part of a larger meal—they’ll always satisfy.
Ready to impress? Whip up a batch using your preferred variations, then watch them disappear. This crowd-pleaser blends nostalgic comfort with modern convenience, making it a must-try for anyone craving delicious innovation.