
You’ll learn how to master this classic using modern techniques. A stand mixer with a whisk attachment ensures the batter reaches ideal fluffiness, while premium cocoa powder creates that signature richness. Timing matters: letting the baked sponge rest briefly makes rolling effortless.
We’ll guide you through each step, from mixing to assembly. Discover why folding ingredients gently preserves airiness and how melted chocolate adds luxurious depth. Troubleshooting tips will help avoid cracks or dryness, so your dessert stays picture-perfect.
Key Takeaways
- Modern methods enhance moisture without sacrificing traditional flavor
- Proper tools like a stand mixer streamline the baking process
- High-quality cocoa powder is essential for rich taste
- Resting the sponge briefly prevents cracking during rolling
- Upcoming sections detail ingredient ratios and rolling techniques
Introduction to a Delicious Swiss Roll Experience
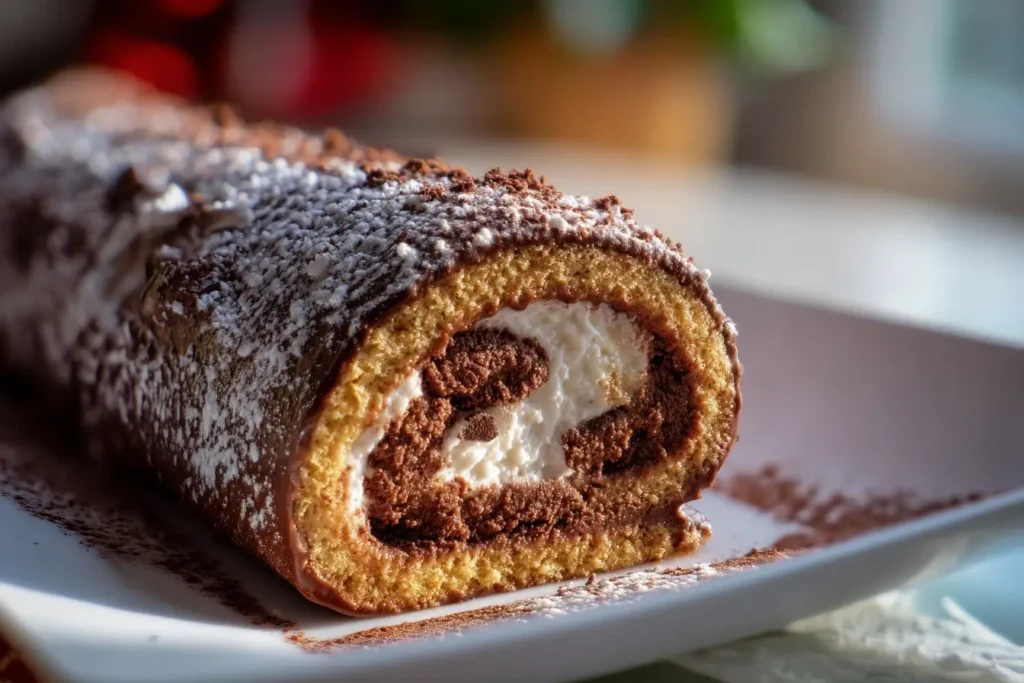
There’s magic in transforming simple ingredients into a dessert that feels both elegant and comforting. Modern updates to traditional recipes—like those refined between 2019 and 2024—focus on balancing fluffy textures with bold flavors. At the heart of this treat lies sweet vanilla cream, whipped to silky perfection, and a sponge that’s light as air.
Discovering the Charm of Homemade Cake Rolls
Granulated sugar and cocoa powder work together like old friends. The sugar stabilizes egg foam for structure, while the cocoa adds earthy depth. A touch of vanilla in the cream filling ties everything together, creating layers of flavor that melt on your tongue.
“Parchment paper isn’t just a tool—it’s your secret weapon. It guarantees a flawless release every time.”
A Nostalgic Twist on a Classic Dessert
Recreating this dessert feels like flipping through a family recipe book. The rolling technique might seem tricky, but a warm sponge wrapped around cream becomes pliable quickly. Using a large mixing bowl to fold ingredients gently preserves the batter’s airiness, ensuring a tender crumb.
| Ingredient Pair | Role | Result |
|---|---|---|
| Cocoa + Sugar | Flavor balance | Rich yet not overly sweet |
| Vanilla + Cream | Texture enhancer | Silky, stable filling |
| Eggs + Bowl | Aeration | Light, springy sponge |
Up next, we’ll explore how choosing the right tools elevates your results. From stand mixers to sifters, every detail matters.
Ingredients and Essential Tools
Creating a flawless dessert starts with understanding your ingredients and tools. Each component plays a critical role in achieving the ideal balance of flavor and texture. Let’s break down what you’ll need to craft a tender, airy sponge and silky filling.
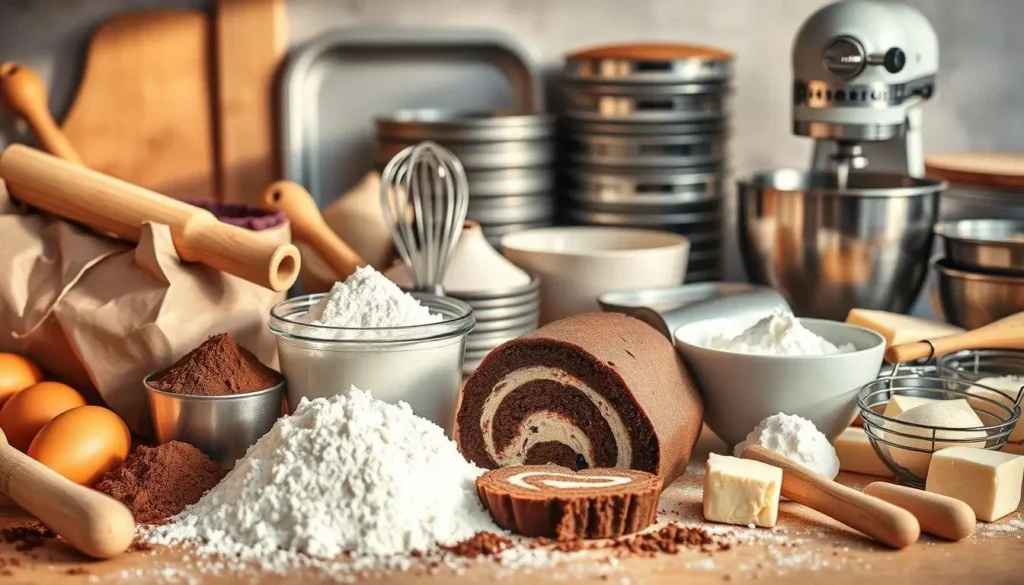
Key Ingredients and Their Unique Roles
Cake flour works better than all-purpose flour here. Its lower protein content prevents toughness, giving the sponge a delicate crumb. For cocoa powder, Dutch-process varieties offer deeper color and smoother flavor compared to natural options.
Buttermilk adds moisture without weighing down the mixture. Its acidity reacts with baking soda, creating lift. Always sift dry ingredients through a fine mesh sieve to eliminate lumps and ensure even distribution.
| Ingredient | Purpose | Pro Tip |
|---|---|---|
| Cake Flour | Soft texture | Measure by spooning into cups |
| Dutch Cocoa | Rich color | Combine with hot water |
| Buttermilk | Moisture & lift | Use room temperature |
Must-Have Kitchen Tools and Equipment
A stand mixer with a whisk attachment whips eggs to perfect peaks faster than hand mixing. Silicone spatulas fold ingredients gently, preserving air bubbles. Parchment paper prevents sticking during rolling—never skip it.
Use an oven thermometer to verify temperatures. Even 10°F differences can cause cracks. For the filling, chill your mixing bowl before whipping cream. Cold tools stabilize the filling faster.
Ready to mix your baking ingredients? The next section walks through each step for foolproof batter and rolling techniques.
Preparation and Step-by-Step Techniques
Mastering this dessert hinges on balancing precision with speed. Start by preheating your oven to 350°F and lining a 10×15-inch pan with parchment paper. This setup ensures your sponge bakes evenly and releases effortlessly.
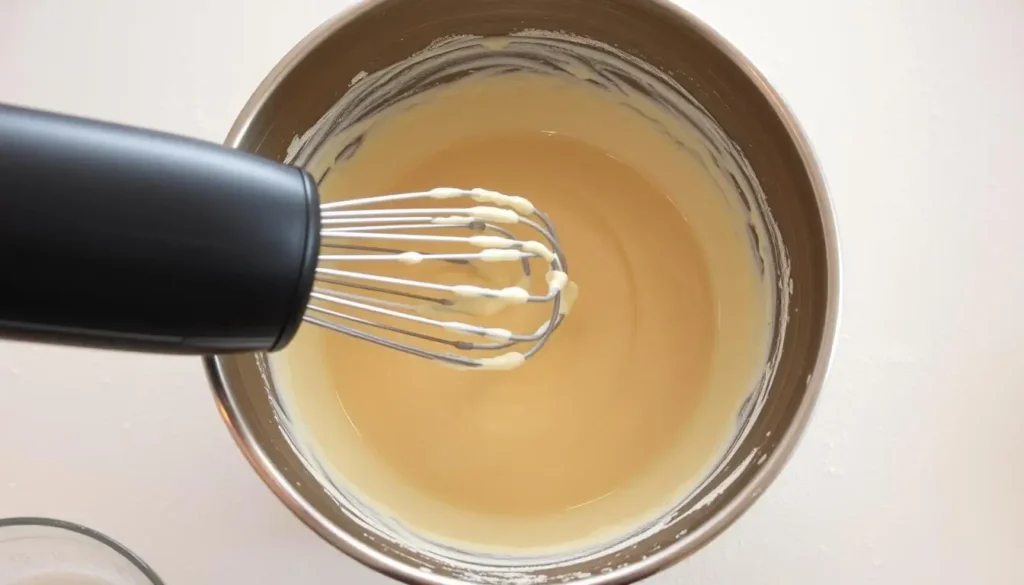
Mixing, Sifting, and Folding for Perfect Batter
Begin by beating eggs and sugar in a stand mixer fitted with the whisk attachment. Whip for 5-7 minutes until ribbons form—this creates the airy base. Swap butter for vegetable oil in the batter to lock in moisture without compromising structure.
Sift dry ingredients twice through a fine mesh strainer. Use a silicone spatula to fold them into the egg mixture in thirds. Rotate the bowl while scraping the bottom to prevent dense pockets.
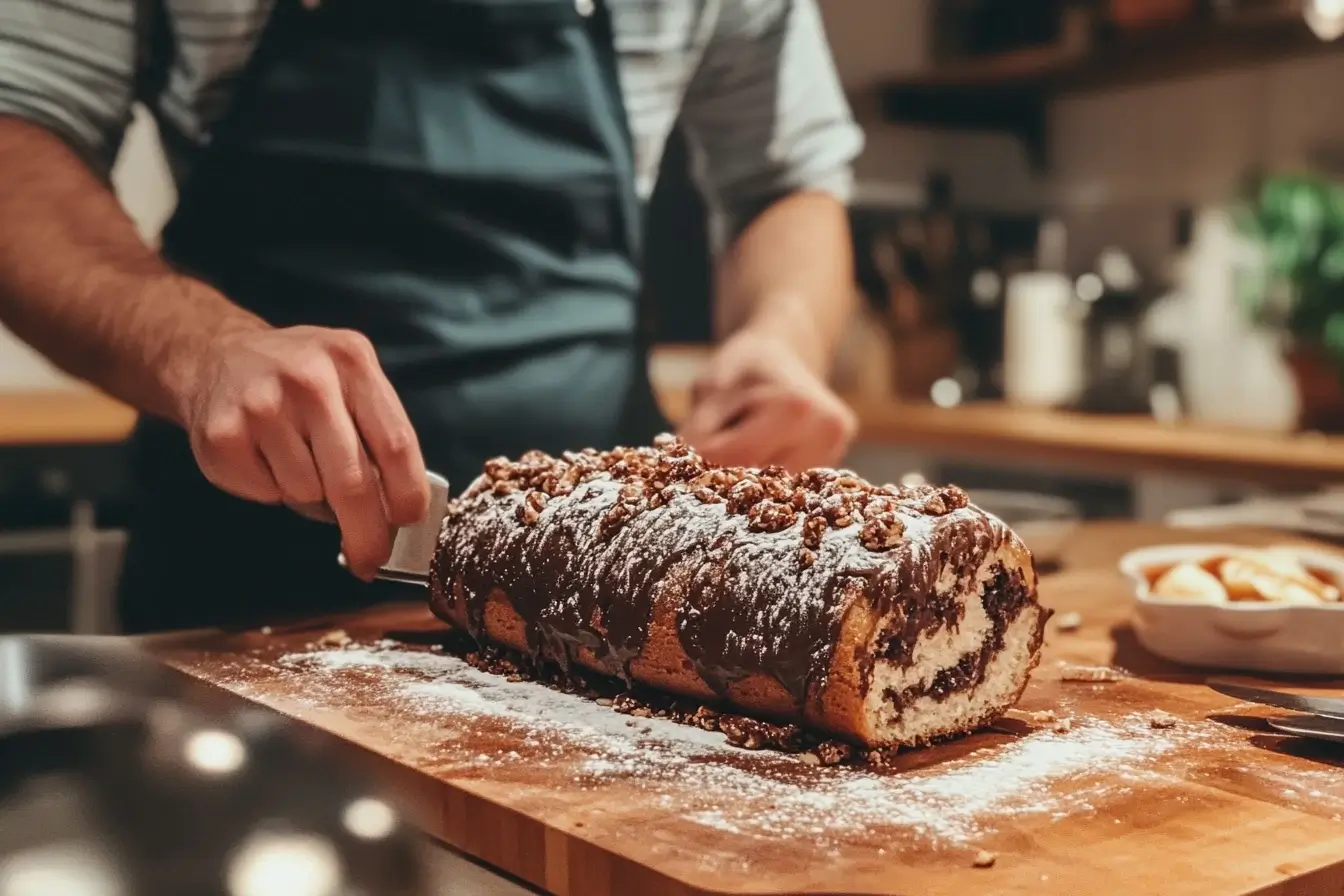
Rolling and Cooling Methods for a Seamless Finish
Bake the sponge just until springy (10-12 minutes). Immediately invert it onto a clean towel dusted with powdered sugar. Roll gently while warm to “train” its shape, then let cool completely wrapped in the towel.
Unroll carefully to fill with cream. For best results, chill the filled dessert 30 minutes before slicing. This step ensures clean cuts and holds the iconic swirl shape all day.
“Timing is everything—roll while the cake retains heat, but fill once it’s fully cooled.”
Up next: Discover how to customize fillings and troubleshoot common issues like cracks or dryness.
Essential Tips for a Perfect Chocolate Swiss Roll
Achieving bakery-quality results at home requires attention to detail and smart techniques. Focus on texture and flavor balance to create a dessert that’s both visually stunning and irresistibly tender.
Preventing Cracks and Ensuring Moist Texture
Whip egg whites to stiff peaks using a spotlessly clean bowl. Even trace amounts of grease can prevent proper aeration. Fold them into the batter gently with a silicone spatula to maintain airiness.
Line your pan with parchment paper and dust it lightly with granulated sugar. This creates a non-stick surface while adding subtle crunch. Roll the sponge while still warm using a lint-free towel to guide the shape without tearing.
Creative Filling and Ganache Options
Stabilize whipped cream by blending in marshmallow creme or mascarpone. For a fruity twist, layer raspberry jam beneath the cream. Pastry cream infused with citrus zest adds bright contrast to rich cocoa flavors.
Make chocolate ganache by pouring hot heavy cream over finely chopped dark chocolate. Let it thicken slightly before drizzling over your finished cake roll. For mini versions, bake batter in a muffin tin and fill using a piping bag.
| Issue | Solution | Tool |
|---|---|---|
| Dry Sponge | Brush with simple syrup | Pastry brush |
| Uneven Filling | Chill before slicing | Offset spatula |
| Ganache Splits | Whisk in warm milk | Double boiler |
Conclusion
Transforming basic pantry staples into an eye-catching dessert requires patience, not perfection. This roll recipe thrives on careful ingredient prep—sifting dry ingredients ensures airiness, while room-temperature egg yolks blend smoothly into the batter. When rolled warm and filled with heavy whipping cream, you’ll achieve that signature swirl without cracks.
For glossy ganache, use finely chopped chocolate melted with hot cream. Refrigerate your finished creation 1-2 hours before slicing with a warm knife. Stored airtight, it stays moist for three days—ideal for make-ahead gatherings.
Mini versions mimic store-bought roll cake treats but taste richer. Swap fillings seasonally: try citrus zest in summer or spiced buttercream for holidays. Share your twist online—tag #homemaderolls to inspire others! It seems this will be useful to you as well. Please check it out. It’s helpful when thinking of a new idea.