
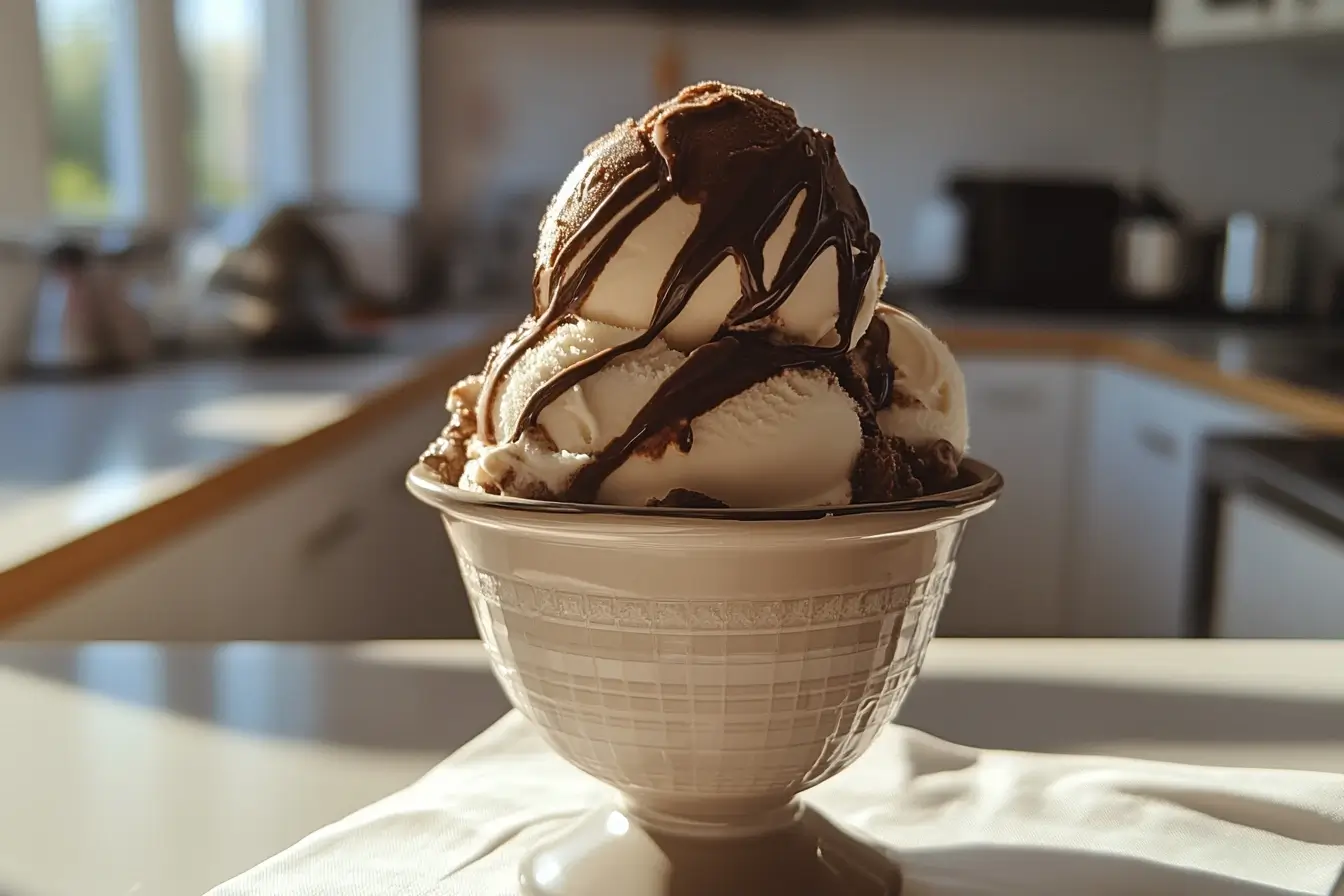
Best Chocolate Ice Cream: Remember the joy of licking the spoon after mixing batter as a kid? That same magic awaits when you craft dessert from scratch. Imagine savoring a velvety treat so rich, it feels like a hug for your taste buds—no fancy equipment or culinary degree required.
Store-bought versions can’t compete with the luxurious texture of homemade creations. By blending heavy cream, whole milk, and premium cocoa, you’ll achieve a silky-smooth consistency that melts perfectly on your tongue. The secret? A custard base infused with real vanilla and a pinch of salt to amplify every note.
You might think mastering this art takes hours, but it’s simpler than folding laundry. We’ll guide you through selecting ingredients, tempering eggs for the custard, and churning techniques that guarantee success. Whether you’re a first-timer or a seasoned cook, this recipe adapts to your rhythm.
Key Takeaways
- Homemade versions offer unmatched creaminess compared to commercial brands
- Quality cocoa and fresh dairy elevate flavor depth instantly
- Basic kitchen tools are all you need for professional results
- Customize sweetness levels to match your preferences perfectly
- Step-by-step instructions ensure foolproof execution every time
Gather Your Ingredients and Equipment
Your culinary success starts with the right pantry staples and gadgets. Like building a house, every element matters—skip one brick, and the whole structure wobbles. Let’s break down what you’ll need to create that silky masterpiece.
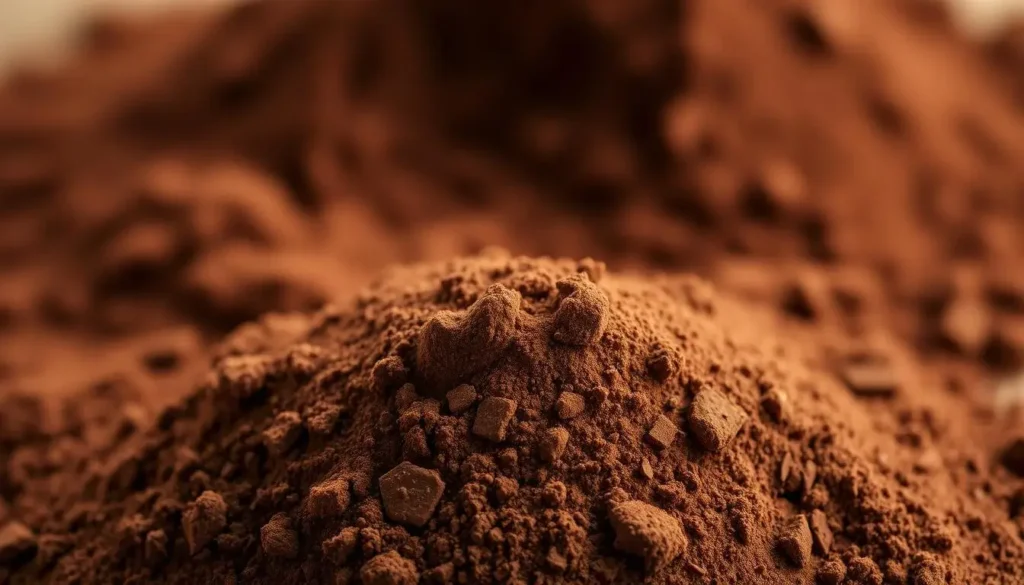
Key Ingredients and Their Roles
High-fat heavy cream acts as your texture hero, lending that melt-in-your-mouth quality. Combine it with whole milk for balanced richness. Dutch-process cocoa powder intensifies flavor depth, while semisweet chocolate chips add nuanced sweetness without overpowering.
| Ingredient | Purpose | Pro Tip |
|---|---|---|
| Cocoa Powder | Deepens color and flavor | Use 22-24% fat content |
| Granulated Sugar | Balances bitterness | Adjust by 2 tbsp increments |
| Egg Yolks | Thickens custard base | Room temp blends faster |
“Premium cocoa isn’t optional—it’s the difference between ‘good’ and ‘unforgettable’.”
Essential Kitchen Tools and Ice Cream Maker Tips
A sturdy saucepan prevents scorching, while a fine mesh strainer catches lumps for velvety smoothness. For churning, Cuisinart’s 1.5-quart model freezes mixtures evenly. Always chill the bowl overnight—it’s the secret to faster freezing.
- Wire whisks integrate dry and wet ingredients efficiently
- Glass containers minimize ice crystal formation during storage
- Digital scales ensure precise measurements
Before you start, line up your bowls and containers. Mis en place isn’t just for pros—it turns chaotic cooking into a rhythmic dance.
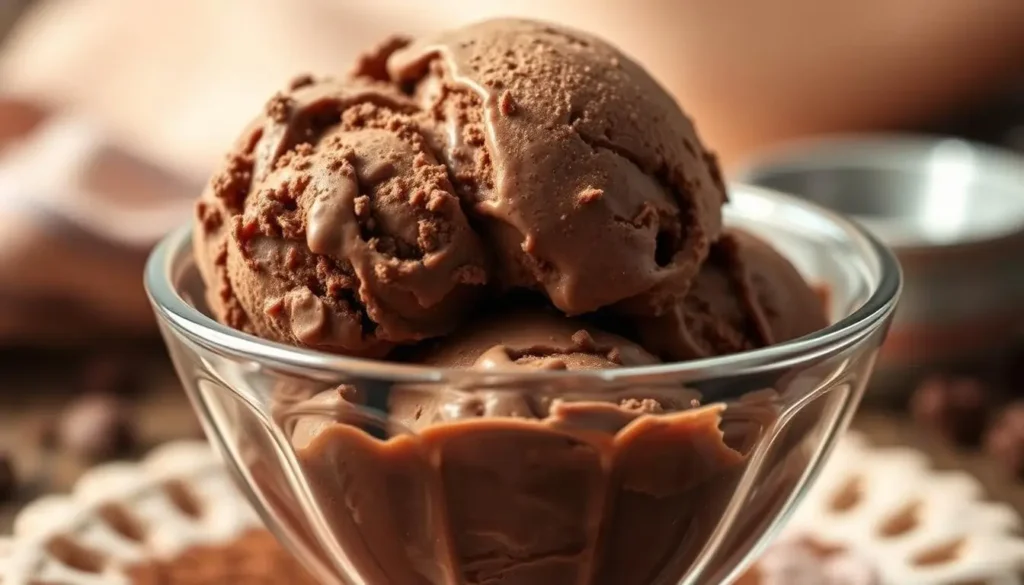
Preparing the Chocolate Base
Crafting the foundation of your dessert requires precision and patience. This stage determines whether your creation will taste like a rushed job or a masterpiece. Let’s transform simple ingredients into a velvety canvas.
Mixing Cream, Cocoa Powder, and Chocolate
Begin by whisking 2 cups of heavy cream with ¾ cup of Dutch-process cocoa in a saucepan. Heat the mixture until it reaches a rolling boil—this unlocks the cocoa’s full aroma. Immediately reduce to a gentle simmer for 90 seconds, stirring constantly to prevent scorching.
Remove the saucepan from heat before adding 1 cup of chopped semisweet chocolate. Let it sit undisturbed for 60 seconds, allowing residual warmth to melt the pieces. Whisk vigorously until no streaks remain. The result? A glossy base resembling liquid silk.
Tips to Achieve a Smooth and Rich Mixture
Use a digital scale to measure ingredients accurately. Even a 10-gram variance in cocoa or sugar can throw off the balance. Keep your whisk moving during simmering to distribute heat evenly across the pan’s surface.
Pre-chopping chocolate ensures faster melting without clumps. If tiny bits remain, strain the mixture through a fine sieve. Always let the base cool to room temperature before proceeding—this prevents graininess in later stages.
“The moment you remove from heat determines texture. Wait too long, and you’ll miss the chocolate’s melting window.”
Creating the Custard Component
Mastering custard is like learning a secret handshake in the world of desserts. This velvety foundation transforms ordinary ingredients into a luxurious base. Start by heating 1½ cups of whole milk in a saucepan until steam rises—about 4 minutes. Keep the flame medium-low to avoid boiling, which could alter the milk’s proteins.
Tempering Egg Yolks and Preventing Curdling
Whisk 6 egg yolks with ½ cup sugar until pale yellow. Slowly pour ¼ cup of the warm whole milk into the yolks while stirring constantly. This gradual introduction prevents scrambled eggs. Once tempered, combine the yolk mixture with the remaining milk in the saucepan.
Cook over low heat for 8-10 minutes, stirring nonstop with a silicone spatula. The custard thickens at 170°F—use a thermometer for accuracy. Time matters here: rush this step, and you’ll end up with lumps. If tiny curds form, strain immediately through a fine sieve.
Achieving the Perfect Custard Consistency
Your mixture should coat the spatula thickly enough to hold a line when you swipe it. Add ¼ teaspoon salt and 2 tablespoons of vanilla extract off the heat. These final touches balance sweetness and enhance depth.
“Custard rewards patience. Stir like you’re meditating—steady rhythms create silk.”
Let the mixture cool to room temperature before chilling. This prevents ice crystals and ensures your base stays creamy. Follow these instructions precisely, and you’ll craft a custard that feels like edible velvet.
Step-by-Step Guide to chocolate ice cream
The magic happens when science meets your freezer. This phase transforms your velvety base into a scoopable delight through precise temperature control and mechanical action. Let’s turn that silky blend into your new favorite dessert.
Chilling and Straining the Mixture
Combine your custard blend with the cooled base in a large bowl. Let it rest in the refrigerator for 2-3 hours—this stabilizes flavors and prevents ice crystals. Use a fine mesh strainer to remove stubborn bits before churning. One quick pass ensures silkiness.
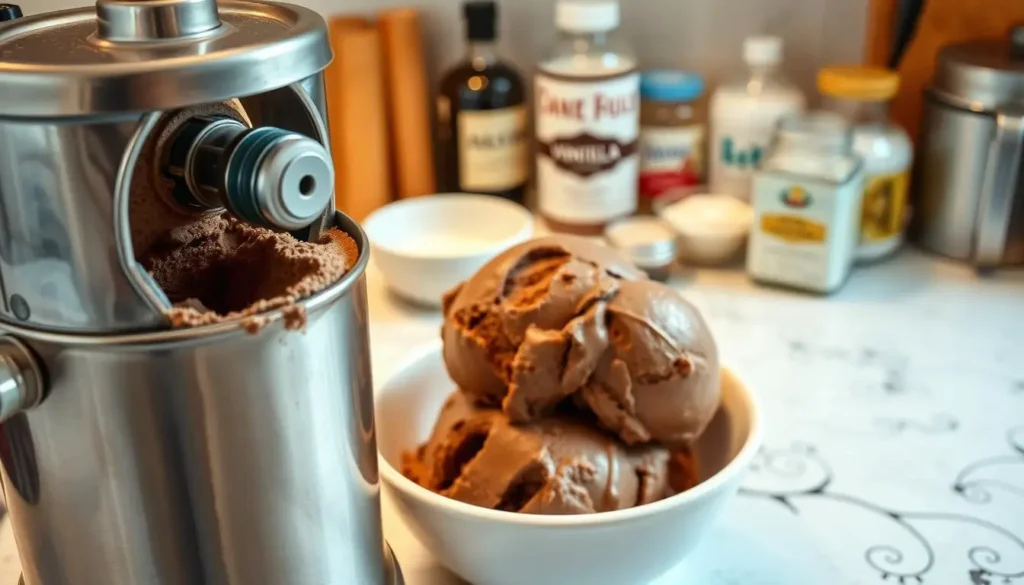
Churning with Your Ice Cream Maker
Assemble your machine according to the manufacturer’s guide. Pour the strained mixture into the chilled bowl. Set the timer for 35 minutes—the sweet spot for achieving soft-serve texture. Watch the paddle create delicate swirls as air incorporates into the base.
| Machine Type | Churn Time | Texture Check |
|---|---|---|
| Compressor | 30-40 mins | Stiff peaks |
| Freezer Bowl | 25-35 mins | Mound holds shape |
| Manual Crank | 40-50 mins | Pulls from sides |
Transfer the churned dessert to an airtight container immediately. Press parchment paper onto the surface to prevent freezer burn. Freeze for 4-6 hours before serving—this firms the texture without sacrificing creaminess.
“Patience rewards you here. Rushing freezing time creates gritty results—like building a sandcastle too close to the tide.” – Professional Pastry Chef
Always unplug your ice cream maker before cleaning. Store leftovers in the coldest part of your freezer, ideally below 0°F. Follow these recipes precisely, and you’ll master the art of homemade treats.
Exploring Alternative Methods and Flavor Enhancements
Who says you need fancy gadgets to craft gourmet delights? Your freezer and a few simple tools can unlock endless possibilities. Let’s reimagine traditional techniques while boosting taste profiles with bold additions.
Hand Churning Techniques Without Specialized Equipment
No machine? No problem. Pour your base into a shallow metal pan and freeze for 45 minutes. Use a fork to scrape and stir every 30 minutes—this breaks up ice crystals for smoother texture. Repeat 4-5 times until achieving soft-serve consistency.
For faster results, try the zip-top bag method:
- Fill a large bag with ice and rock salt
- Place sealed base mixture in a smaller bag inside
- Shake vigorously for 10-12 minutes
Creative Twists to Elevate Your Base Recipe
Transform your creation into signature scoops with these ideas:
- Swirl in peanut butter fudge during the last churn
- Fold crushed espresso beans for mocha depth
- Layer toasted coconut flakes between freezes
“Experimentation breeds brilliance. A pinch of cayenne or orange zest can redefine what dessert means.” – Pastry Innovator
Adjust cocoa percentages to control richness—try 70% dark for intense chocolate flavor. Those with a cream maker can experiment with lower-fat bases for lighter textures. Whether adding caramel ribbons or cardamom dust, your mix-ins become the story.
 Conclusion
Transforming simple ingredients into a silky dessert masterpiece proves easier than you might think. Every ounce of premium cocoa powder and precise fat percentage in your dairy choices builds that signature richness. Whether using a classic machine or shaking up quart-sized batches, success lies in careful measurement and methodical placement of each component.
Home cooks nationwide report stellar results across all churning methods when following this blueprint. The fat content in heavy cream ensures velvety textures, while exact ounces of sugar balance bitterness perfectly. Even quart containers from dollar stores yield professional-grade results when layered properly during freezing.
Experiment boldly next time—swap standard powder for malted versions or add espresso dust for depth. Share your twists online to inspire fellow creators. Mastering this foundation unlocks endless flavor adventures, proving homemade treats outshine store shelves every time.
Serve scoops alongside fresh berries or crumbled cookies for added flair. Remember: great desserts aren’t made, they’re crafted—one thoughtful placement of ingredients at a time. I think you will love this recipe too.
Edible Brownie Batter: Safe, Delicious, and Easy to Make!
FAQ
Can I use milk instead of heavy cream for a lighter texture?
Yes, substituting whole milk or half-and-half can reduce fat content. However, this may result in a less creamy consistency. For optimal richness, stick to the recommended cream-to-milk ratio.
How do I prevent ice crystals from forming during freezing?
Ensure your base mixture is thoroughly chilled before churning, and avoid overfilling the machine. Storing the final product in an airtight container minimizes exposure to air, which causes crystallization.
What type of cocoa powder works best for intense flavor?
Dutch-processed cocoa powder delivers a deeper, smoother taste compared to natural varieties. For added complexity, combine it with melted dark chocolate (70% cacao or higher).
Can I make this recipe without eggs?
Absolutely. Skip the custard step and opt for a Philadelphia-style base using just cream, milk, sugar, and cocoa. The texture will be slightly less velvety but still delicious.
How long should I churn the mixture in the machine?
Most models take 20–30 minutes. Stop once the texture resembles soft-serve. Over-churning can lead to butter-like separation, especially in high-fat recipes.
What are creative ways to enhance the flavor profile?
Add a pinch of espresso powder to intensify the cocoa notes, or swirl in caramel sauce post-churning. Crushed peppermint candies or toasted nuts also add satisfying texture contrasts.